
Homemade Hardware - Weeks 4 and 5
Marquee board revision, milling, soldering
After a whole lot of struggling in Eagle to make a design that included the “)” character along with another pair of LEDs switched by a transistor to create a pair of eyes, I settled on the following revision.
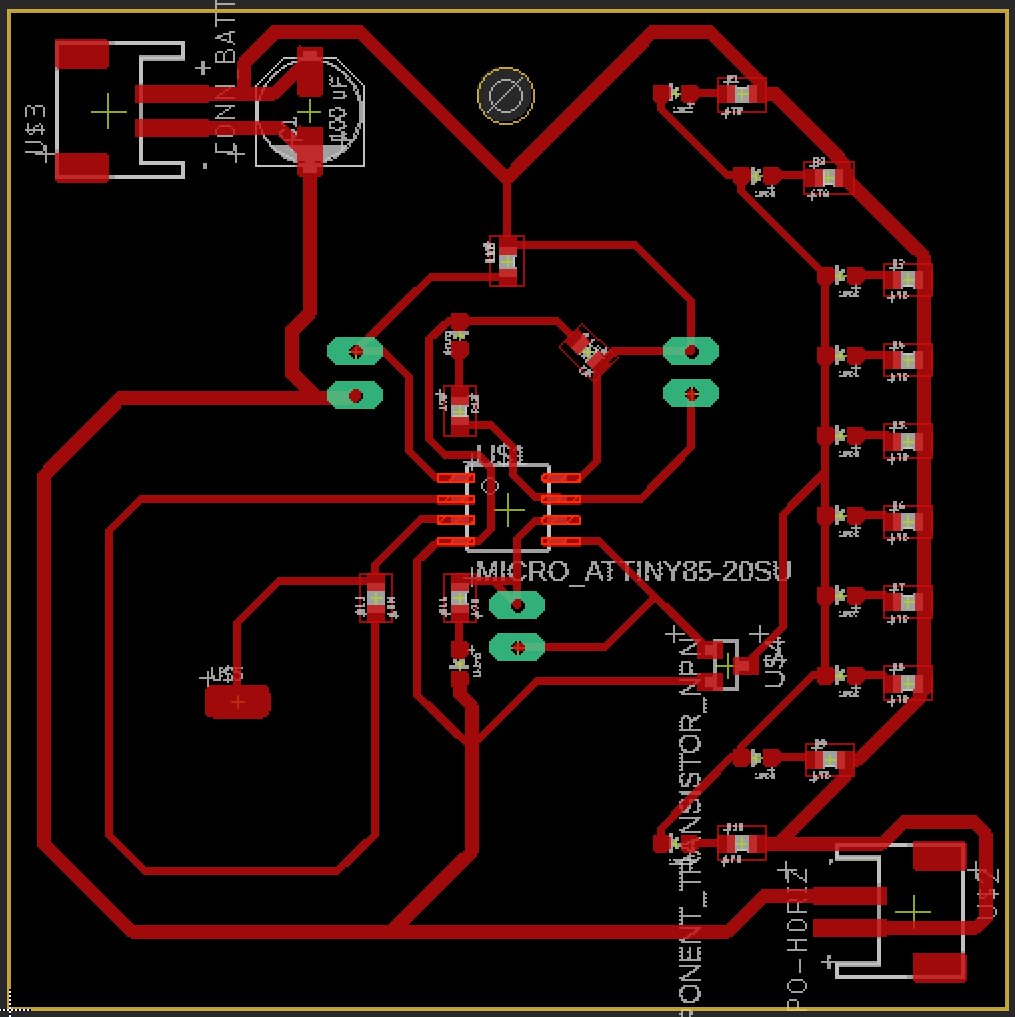
Brandon noted that the pins on the ATTiny85 can’t power more than one LED, so I instead decided to use the CIPO and SCK pins (6 and 7) each to control a single LED. This also eliminated the problems I was having trying to jam a second transistor into my design–the way I’d describe it, I could find no way to position both transistors such that both could reach ground without using a via.
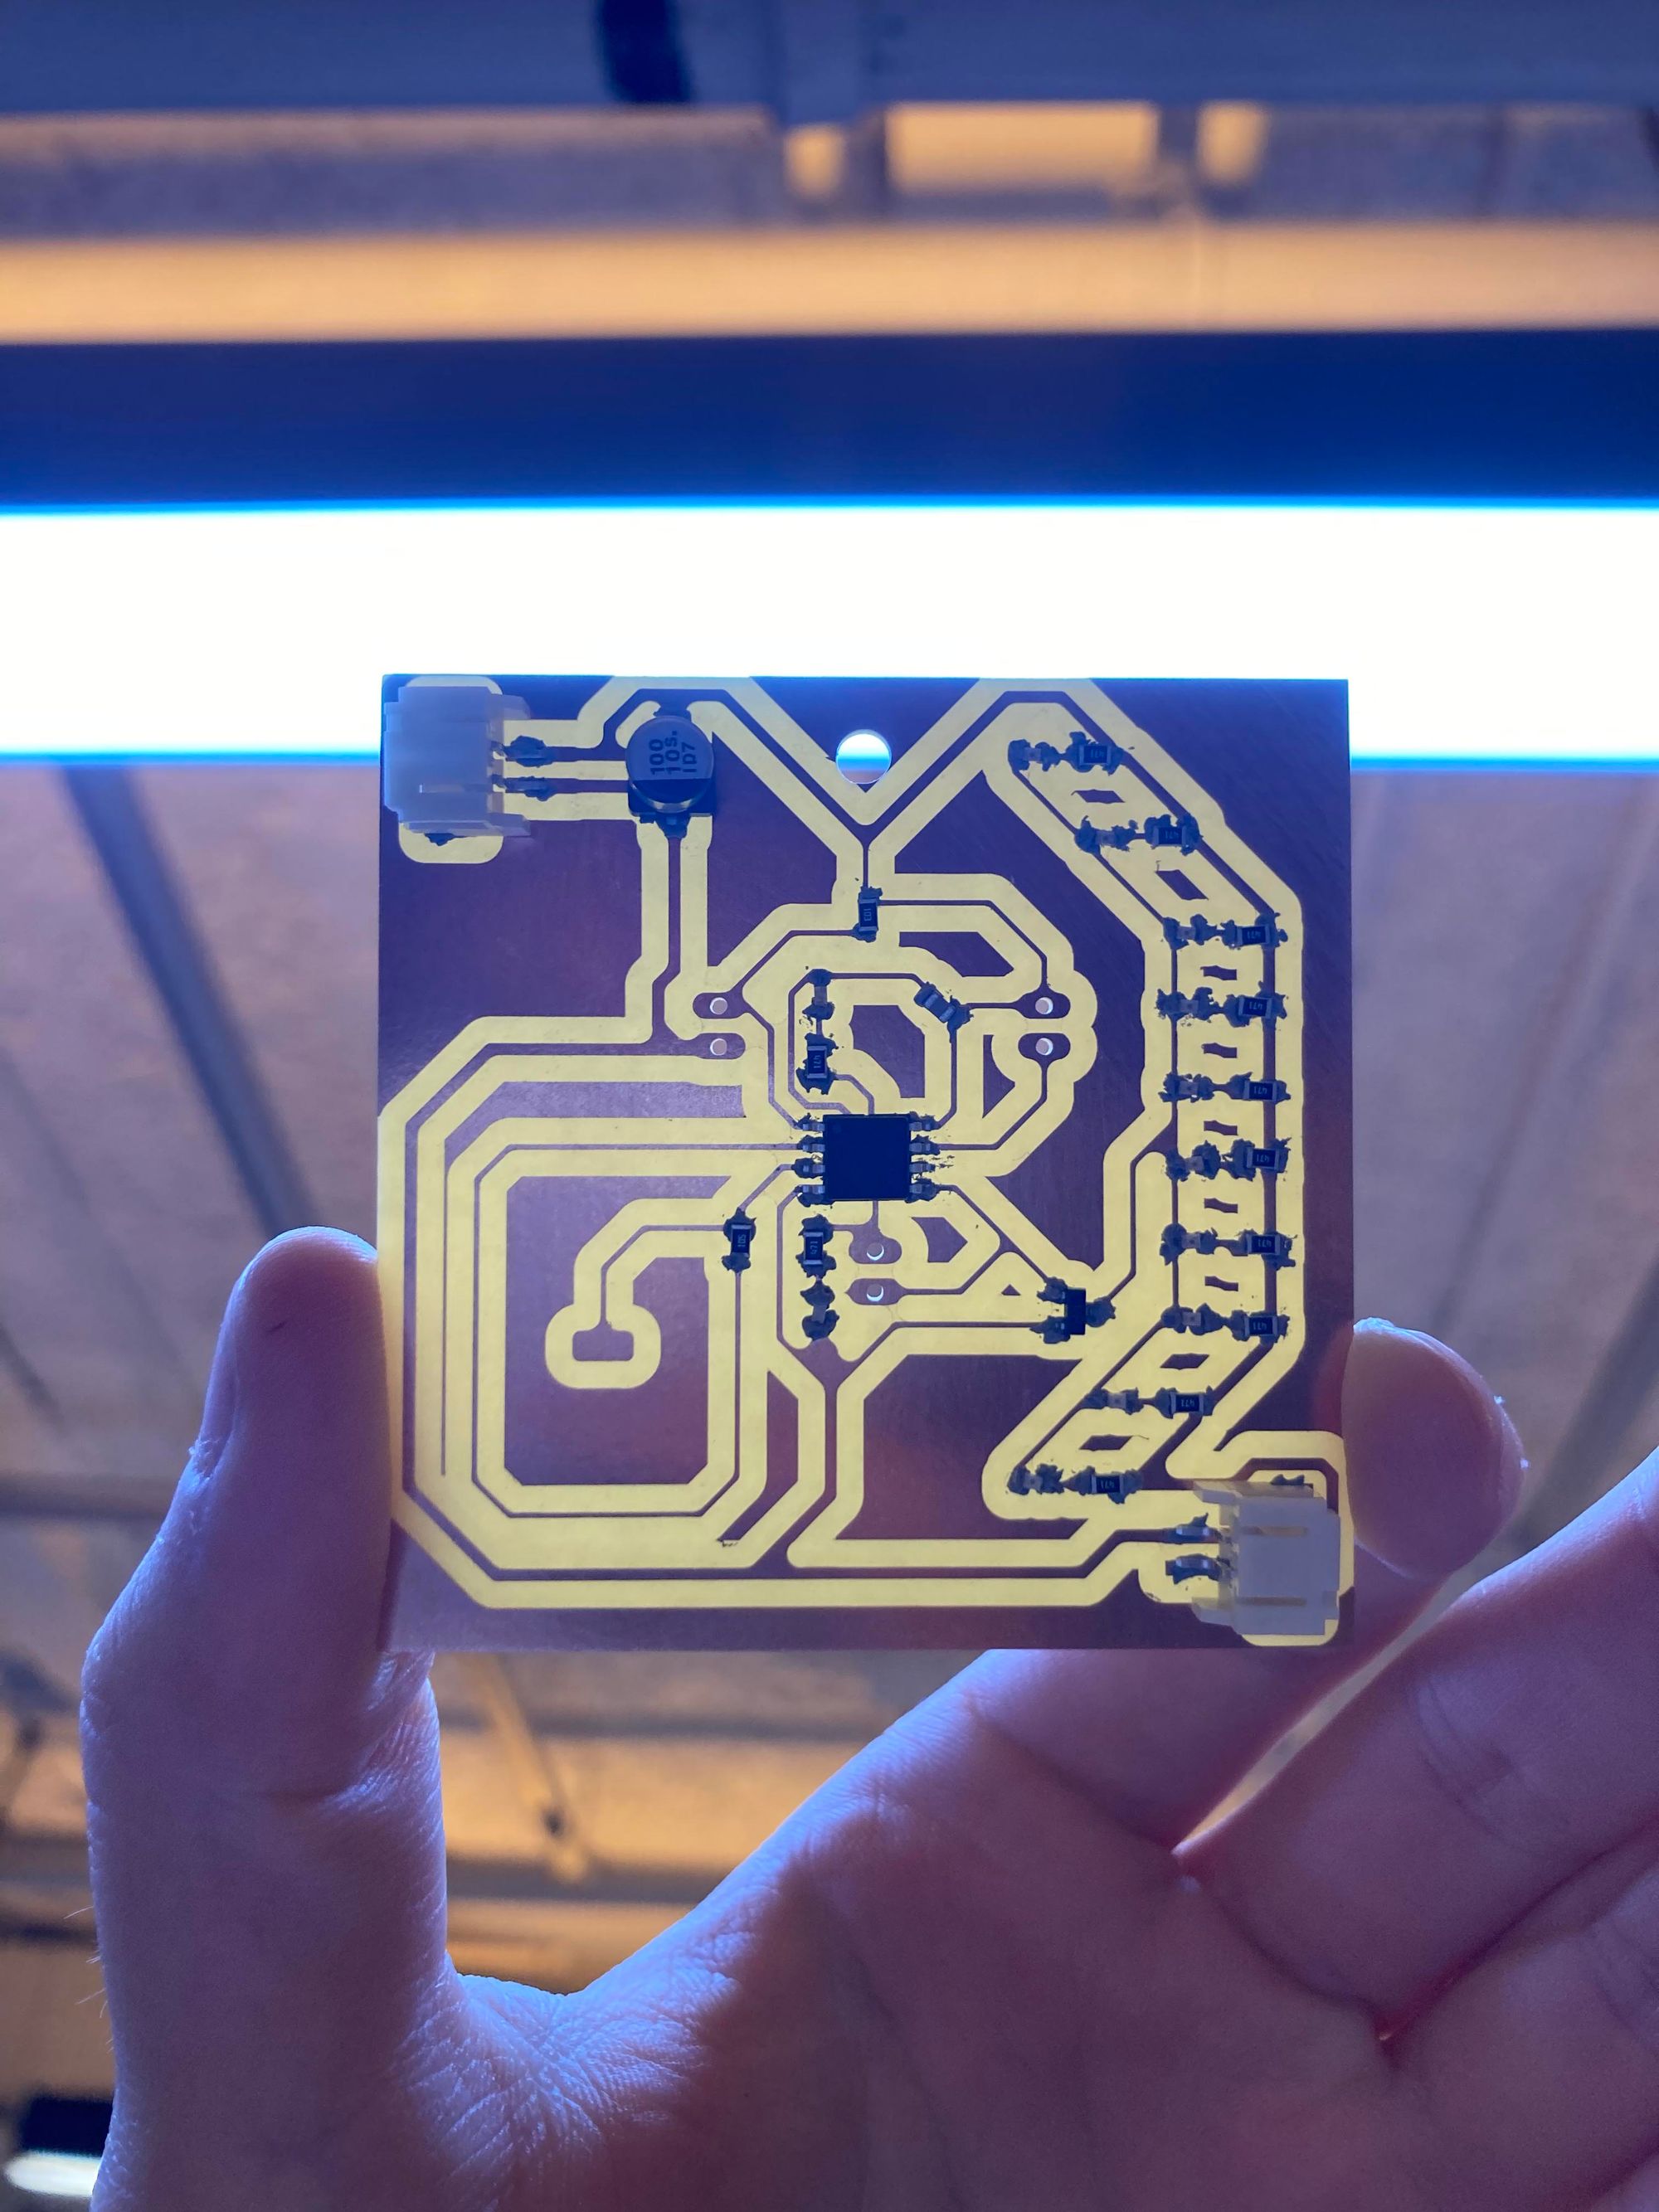
So: on to milling! I was careful to follow all of the setup steps on Andy Sigler’s website to the letter. It was nerve-racking as the board was milled, but it came out just fine on the first go.

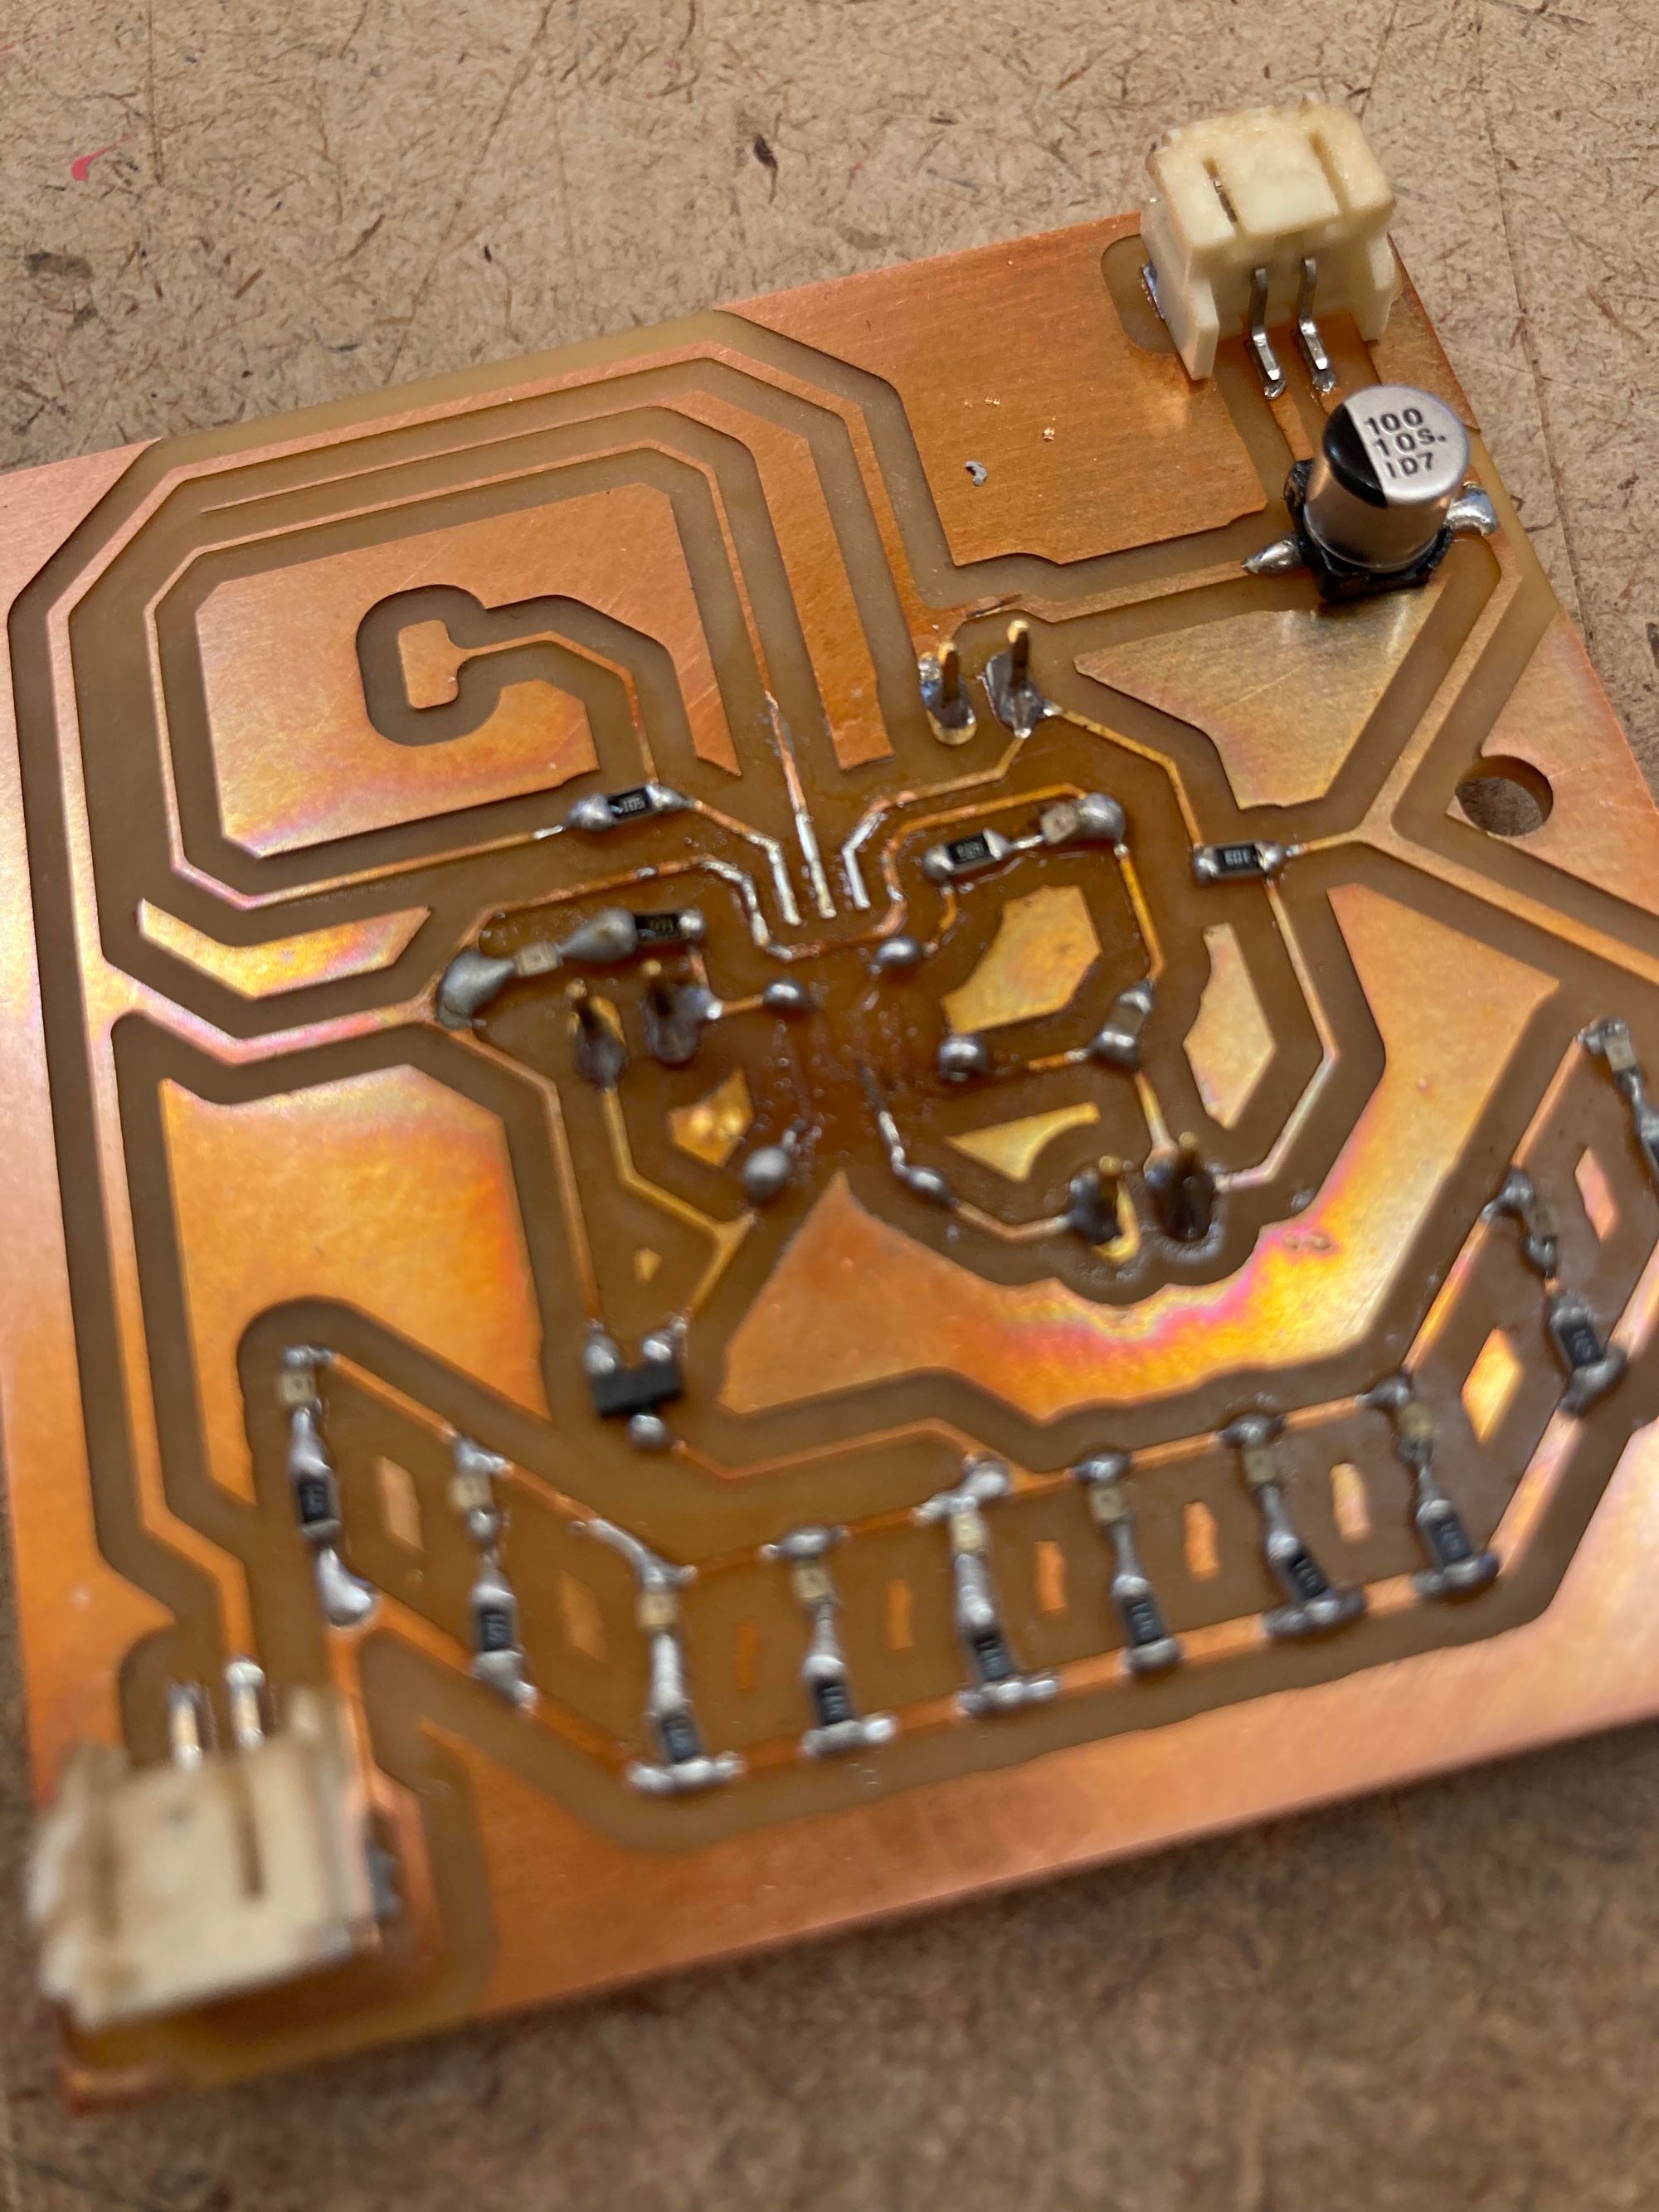
Soldering on the components was more frustrating. Placement was tricky, though I did eventually settle into a method utilizing my tweezers to push dollops of solder paste on to the board. Spoiler alert: it turns out that this first board had the LEDs wired backwards.
That was not the problem I ran into with this board, though. After getting everything in place and doing continuity checks on all the pins, I tried getting the bootloader on to the ATTiny85 and couldn’t. After all the testing, my guess was that the chip was fried (the reflow station used to heat the solder paste had been set much higher than 250 C).
I consulted with Brandon via email and decided I’d try to attach a new ATTiny85. Here’s what happened as I did that: soldering on the new chip, I bridged basically all of the pins. In my attempt to undo that, I used solder wick, which then got attached to the traces. As I tried to pull away the wick, I ripped off the traces. RIP my first PCB.
Then, I milled another. Soldered it. Still couldn’t upload anything to it!
Finally returning to class after the President’s Day break, I discussed the problem with Brandon more. His guess was that having the LEDs specifically on CIPO and SCK was interrupting the upload. Testing it, I severed those traces. No luck.
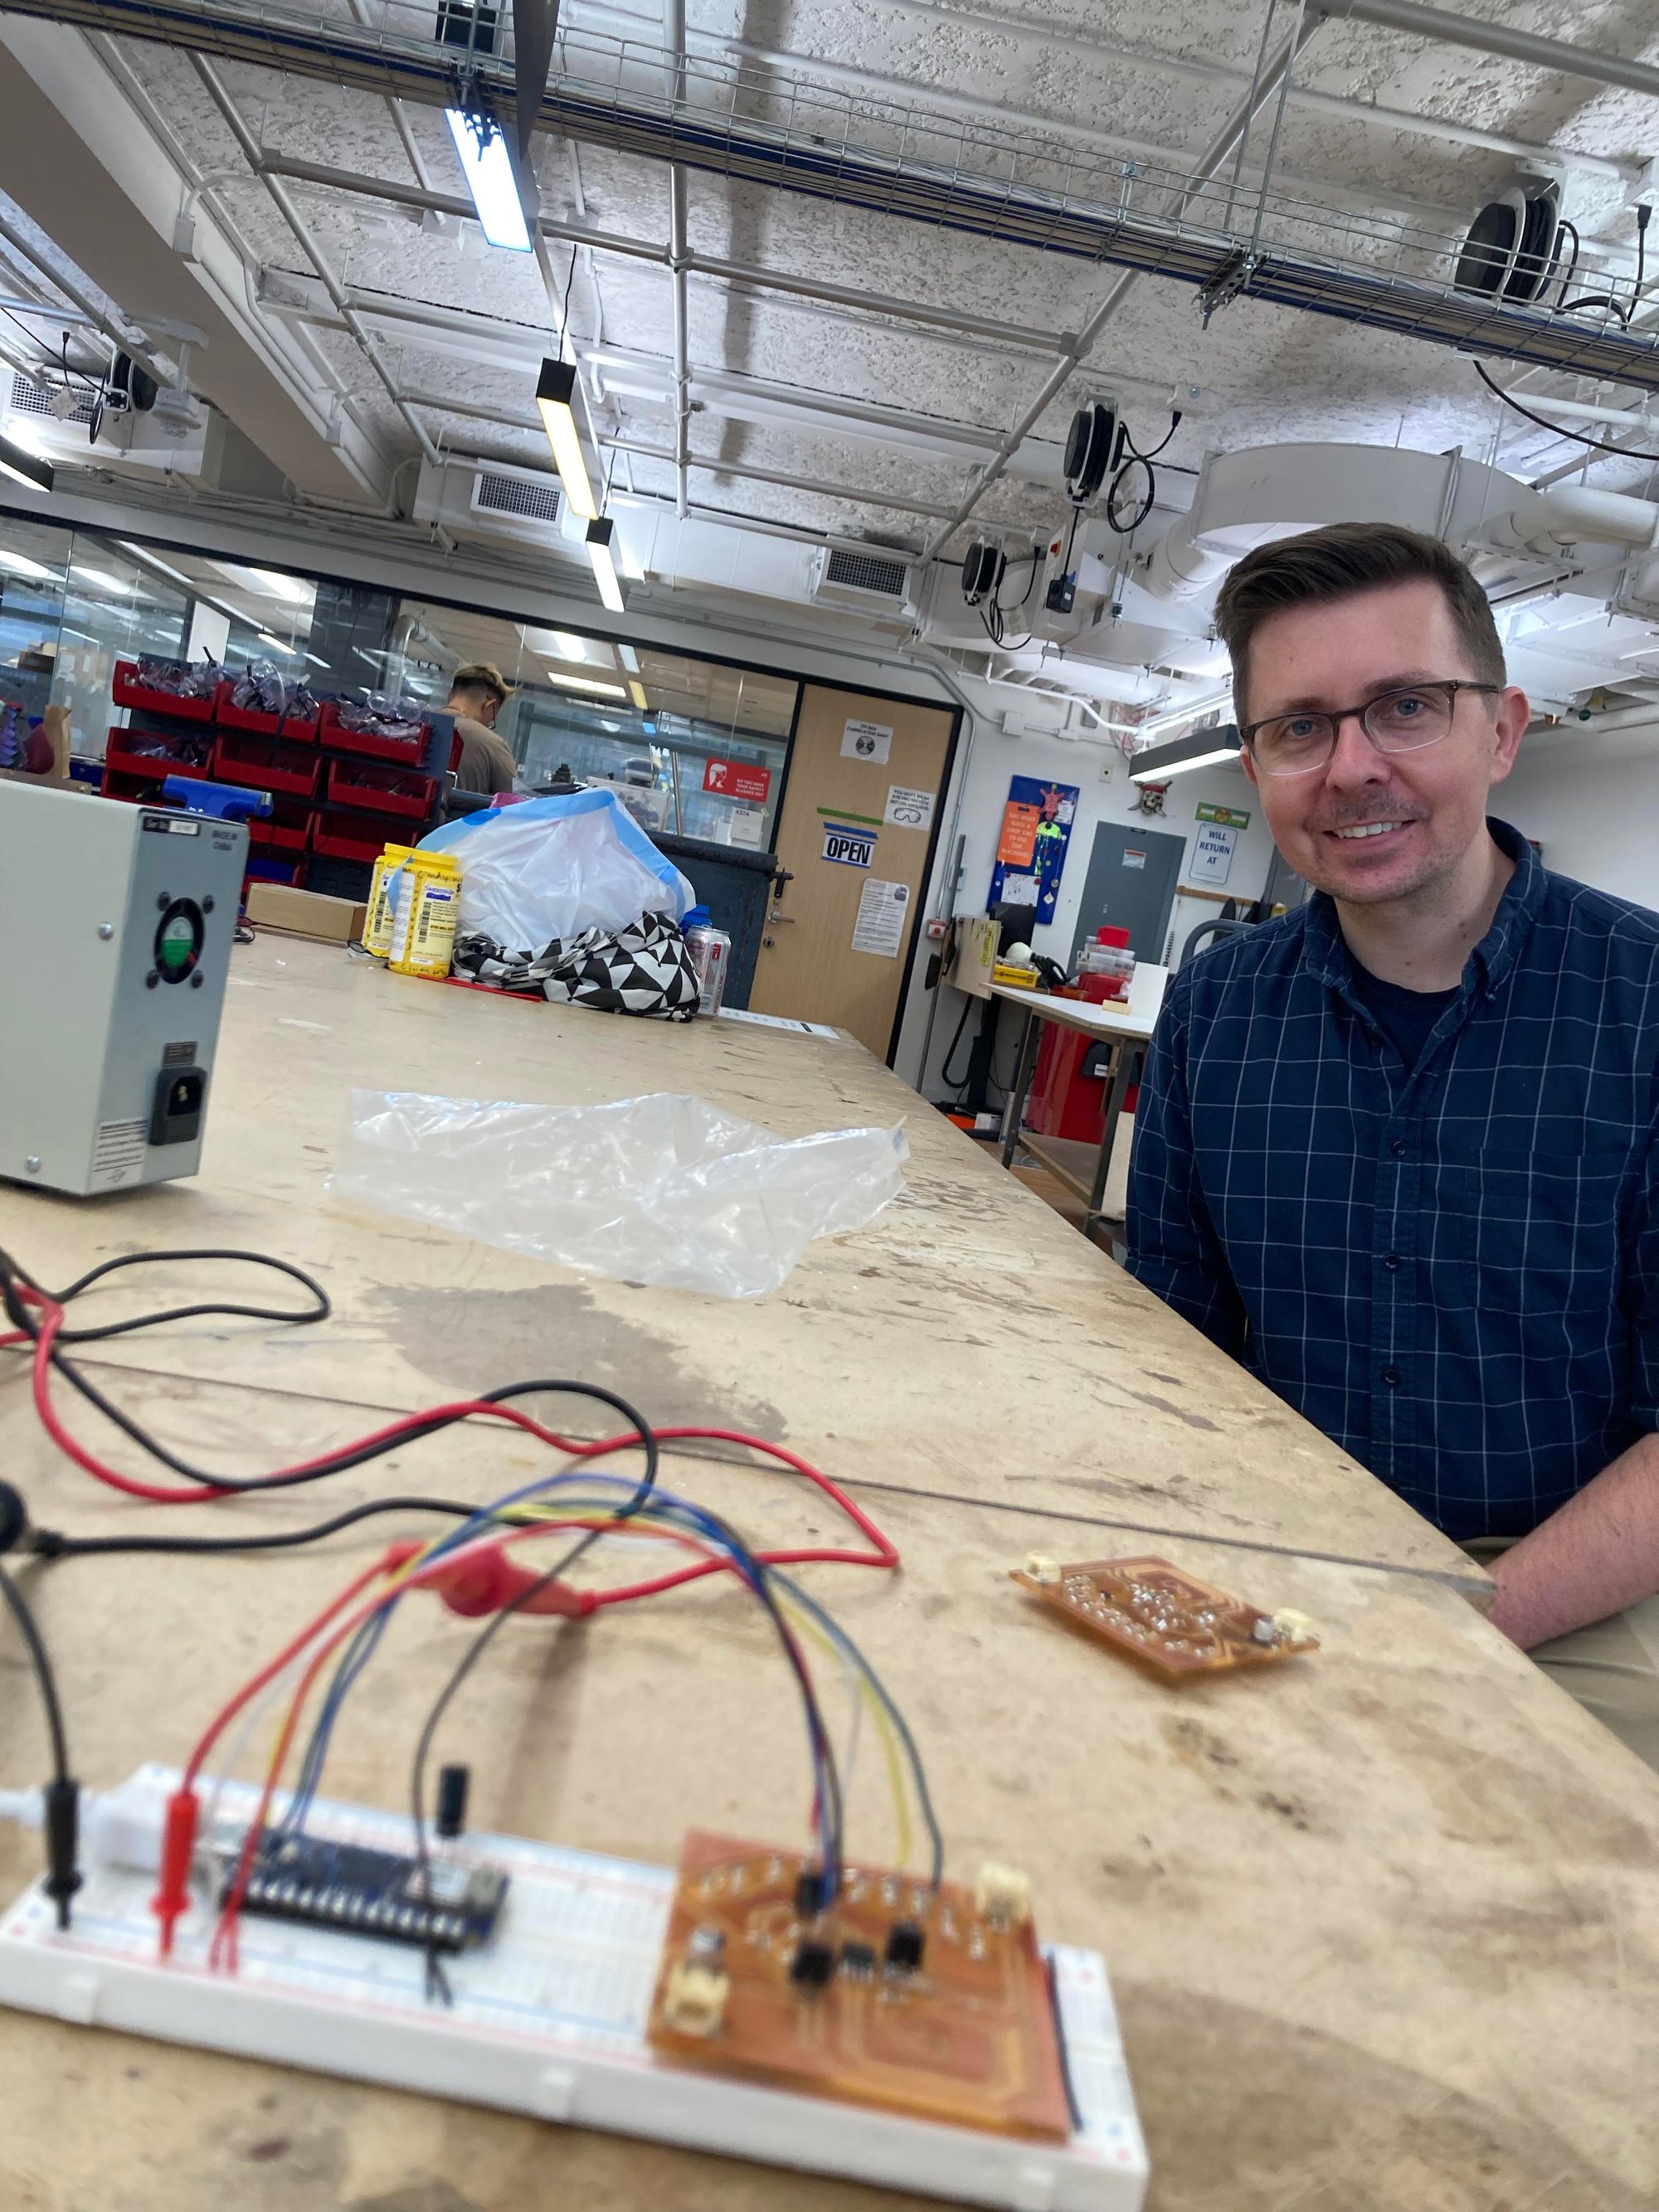
Brandon suggested we hook up a benchtop power supply to up the current during the upload. And that worked! A bootloader successfully made it on to my board.
So, that’s most of the work on this marquee board done. Drama’s not quite over yet, but I’ll cover that in the next week’s blog.
–3/2/23