
Intro to Fabrication - Week 3
Laser cutter introduction
This week’s assignment was to use the laser cutter (plus any other tools or techniques we’ve covered) to create one large and one small version of the same object. I’ve already had a bit of experience using the laser cutter, but only with acrylic and for the purposes of simple cutting jobs. Until now I haven’t used it to create parts for an object that isn’t flat, so that’s what I decided to tackle for myself.
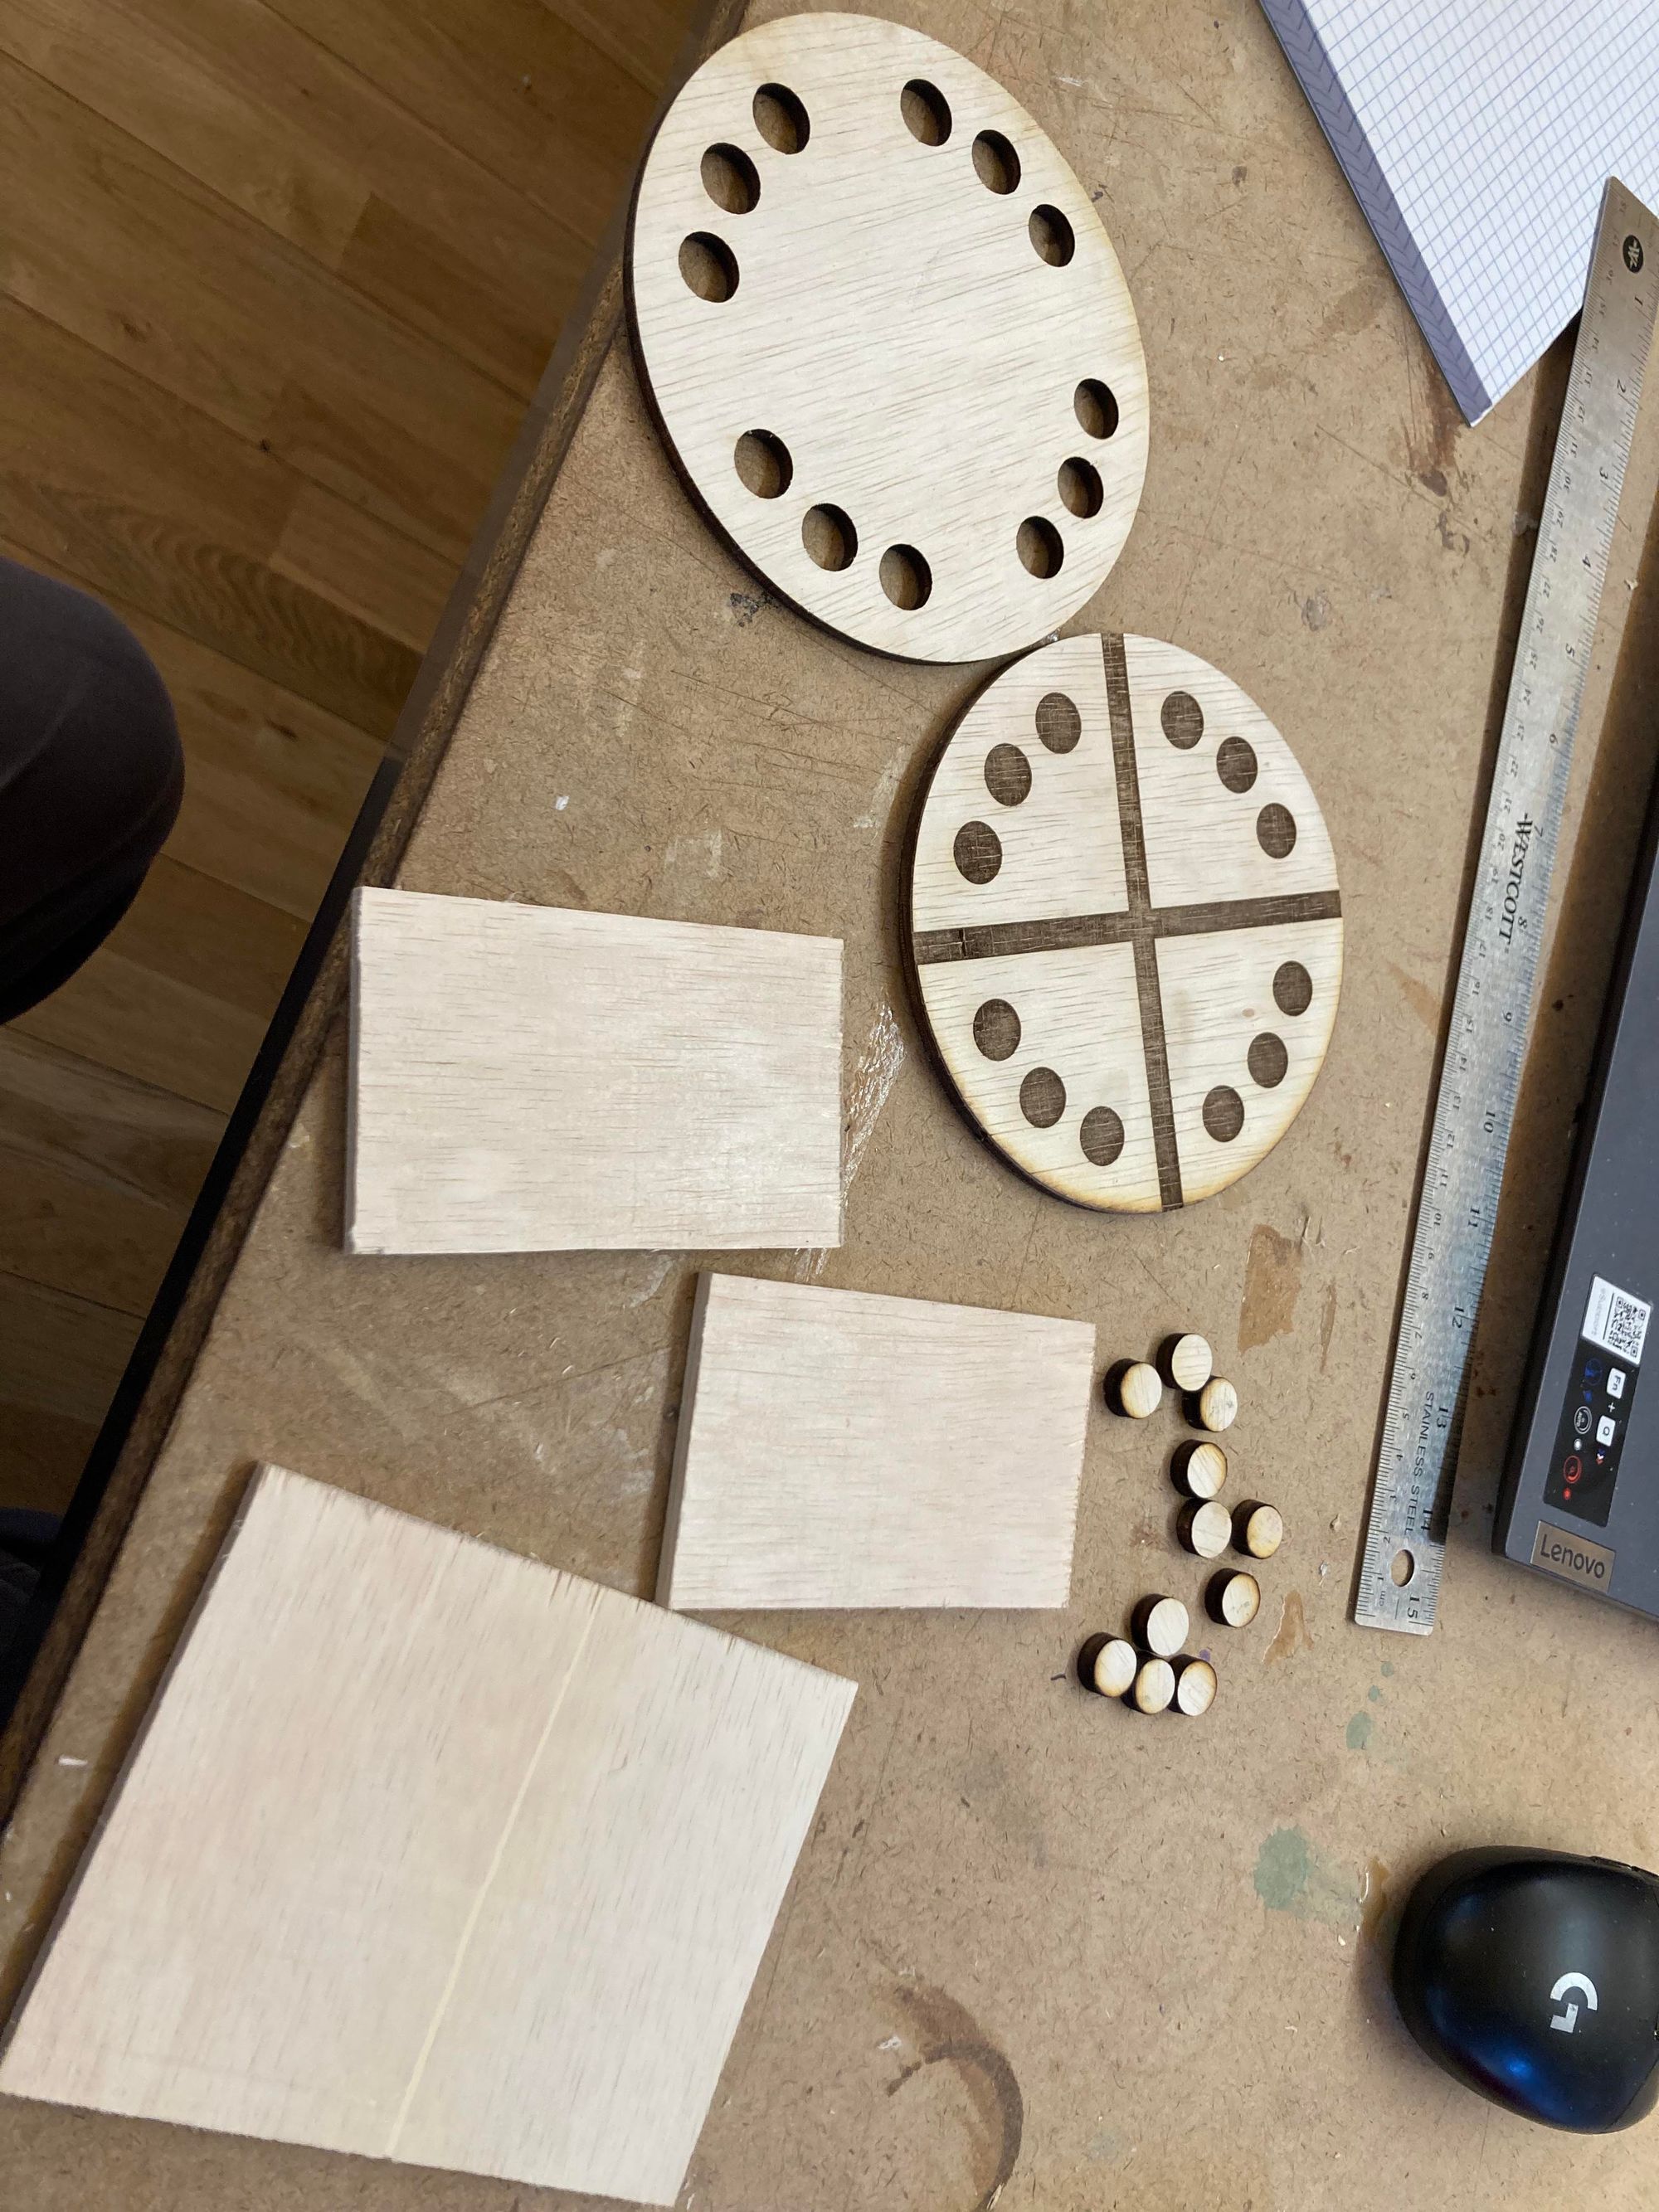
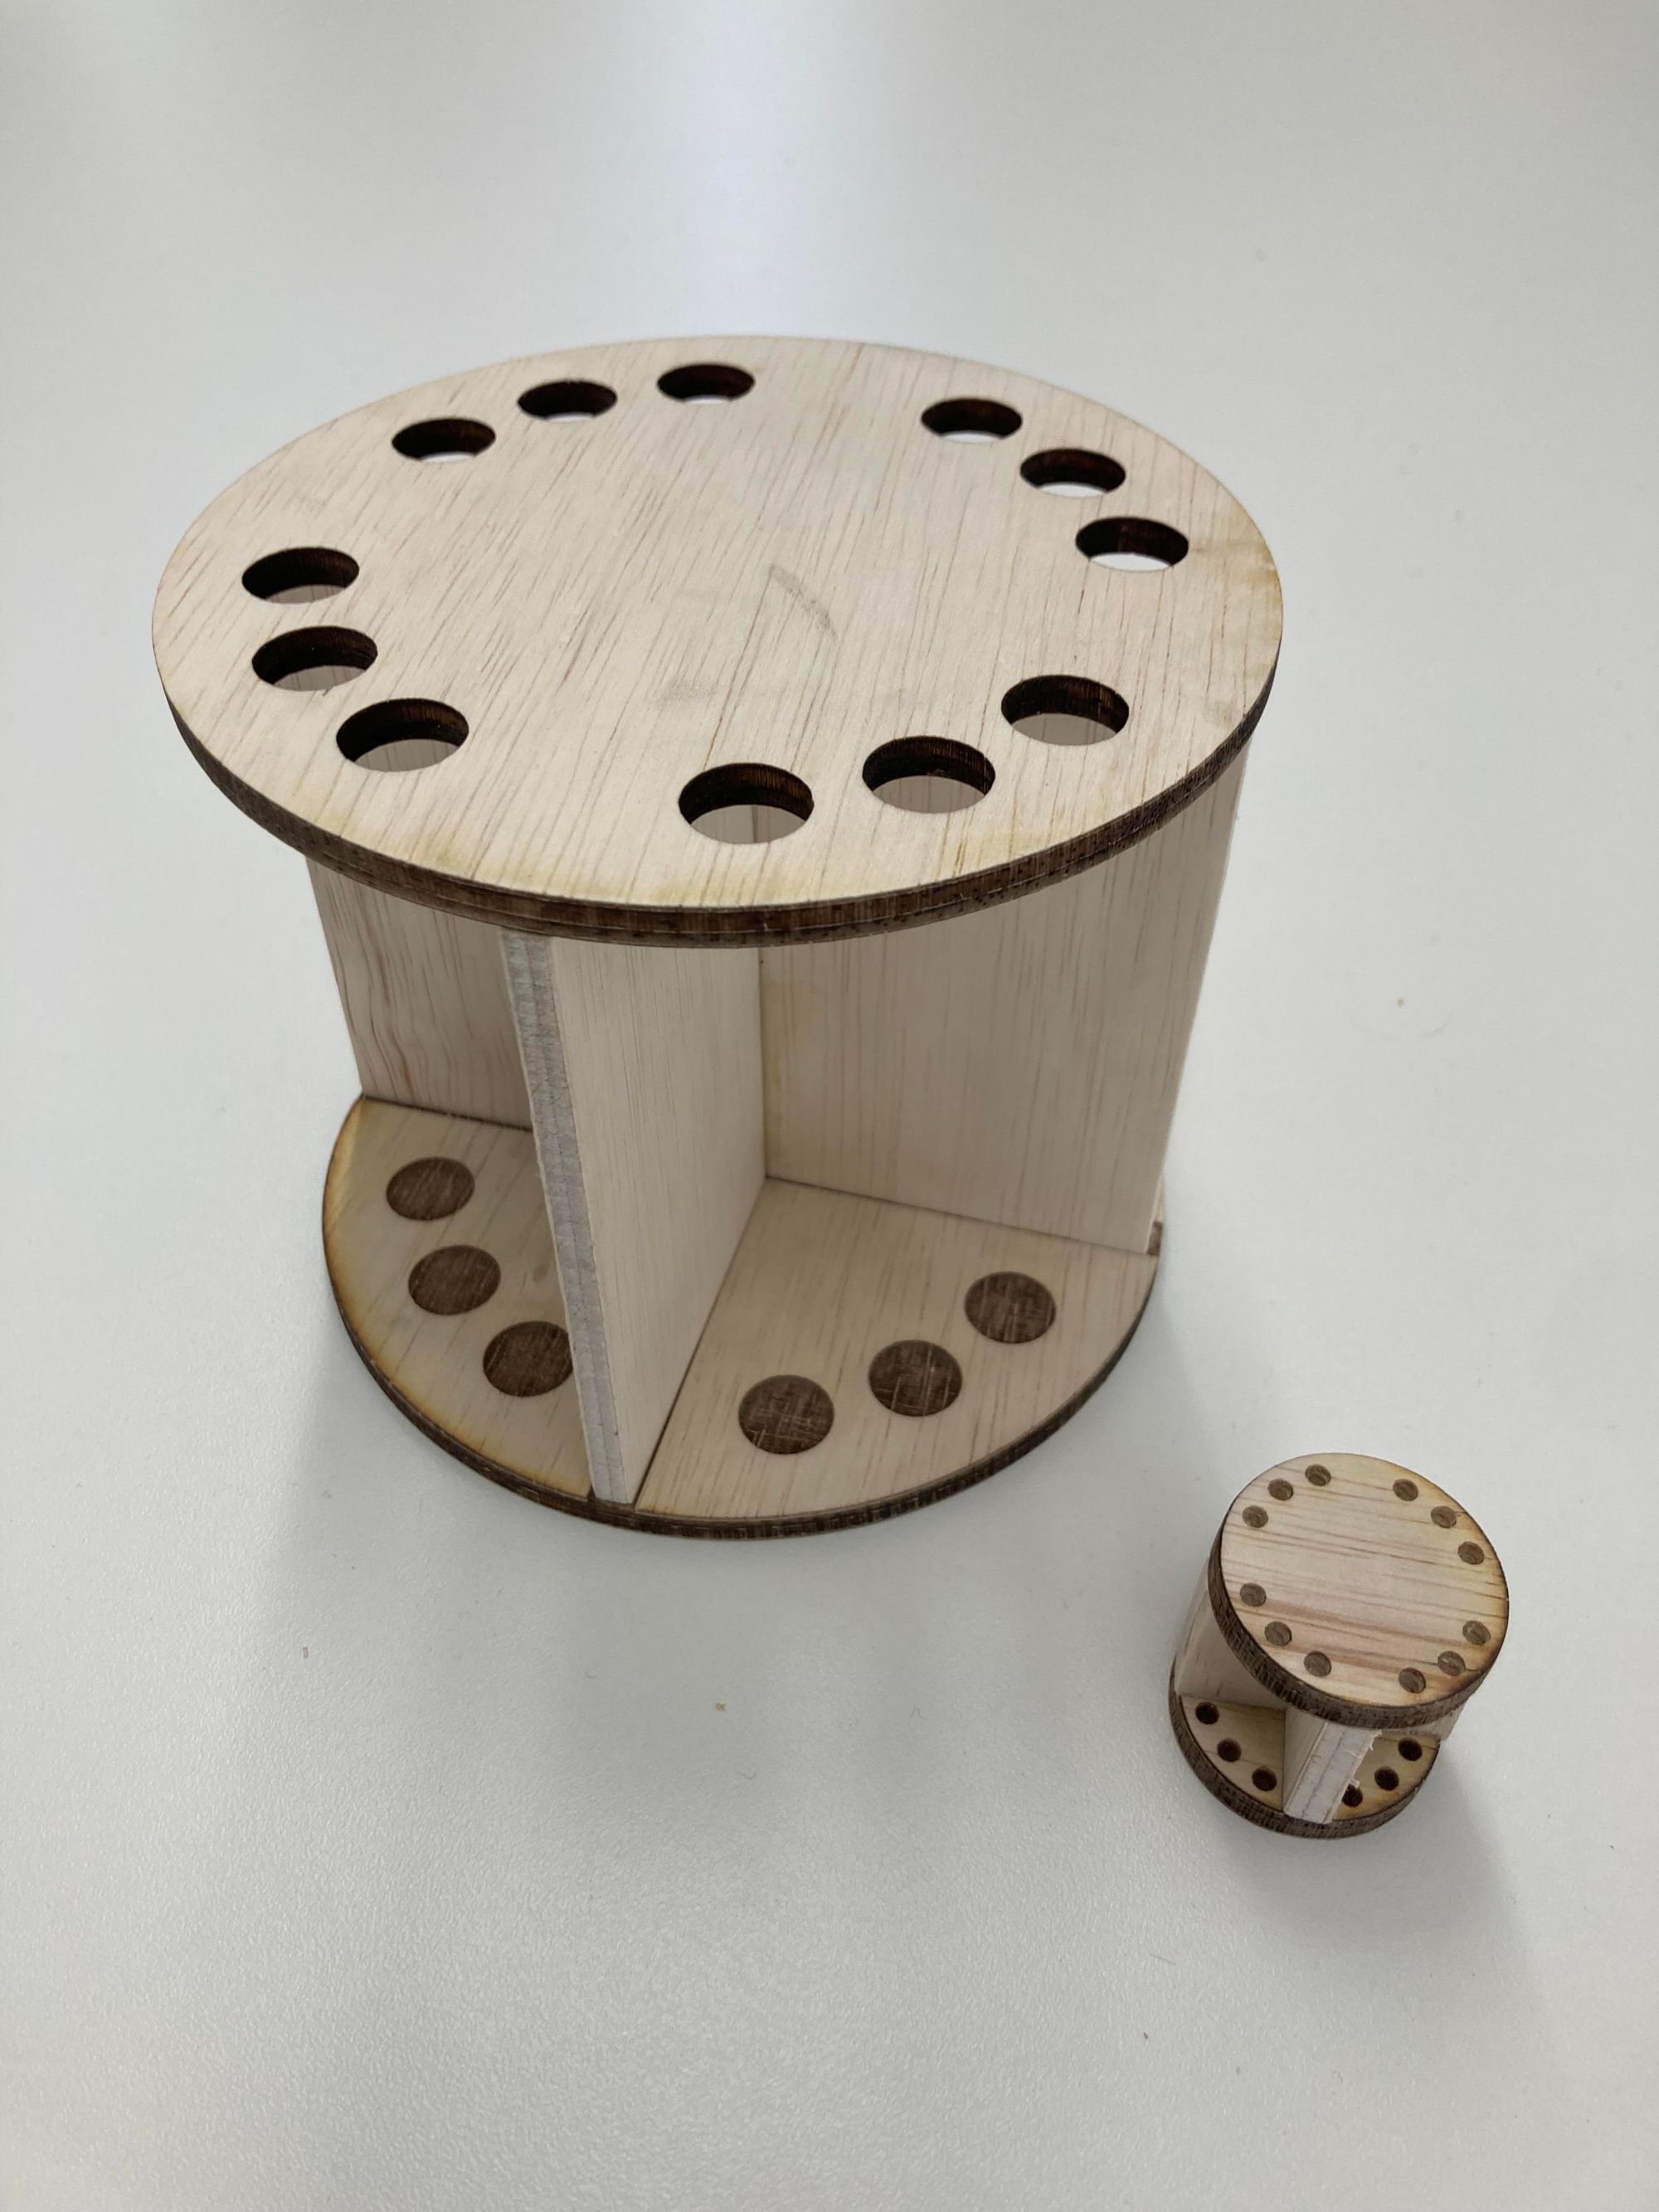
I started in the notebook with some very rough sketches for what I originally envisioned as a tool holder. I only have so many tools, though, and I didn’t want to use too much of the ¼ inch ply I bought making a large, sturdy receptacle that won’t see much use. I instead shrunk the larger holder down to be suitable for pens/pencils and went for making the smaller version even tinier.
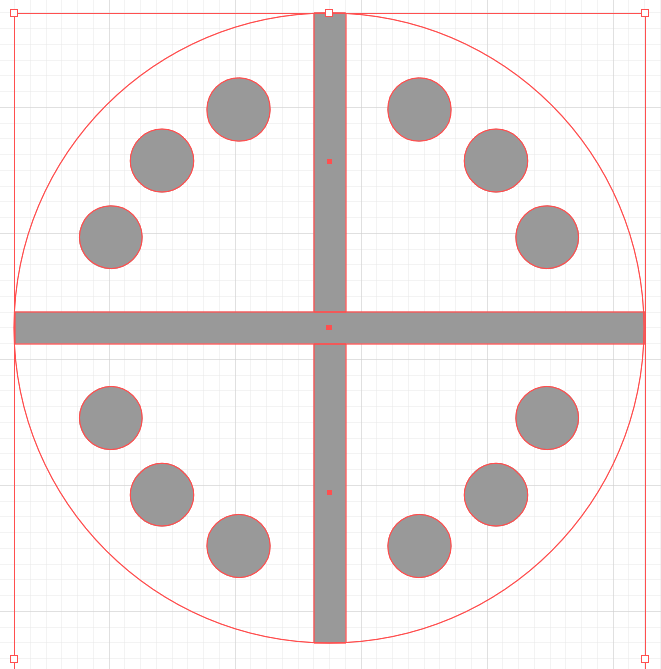
In Illustrator I played around with a few ideas for cutting funkier shaped holes from the wood, but ended up teaching myself about the radial repeat tool and went for evenly spaced holes, 3 per quarter circle. The smaller holder is approximately ¼ scale of the larger version, but the thickness of the ply is the same. Part of me wants to go back and remake the smaller version so that the height is tweaked to keep overall dimensions to scale, but oh well.
The pieces that make up the tall dividers were measured by hand and cut on the bandsaw, then lightly sanded in both cases for fit. There are no joins, and a very simple solution (cutting two of the same pieces with an identical gap in the middle, like two letter Us, then flipping one to form the cross) occurred to me after speaking with Phil. Again, oh well–next project I’ll try to incorporate something like that.
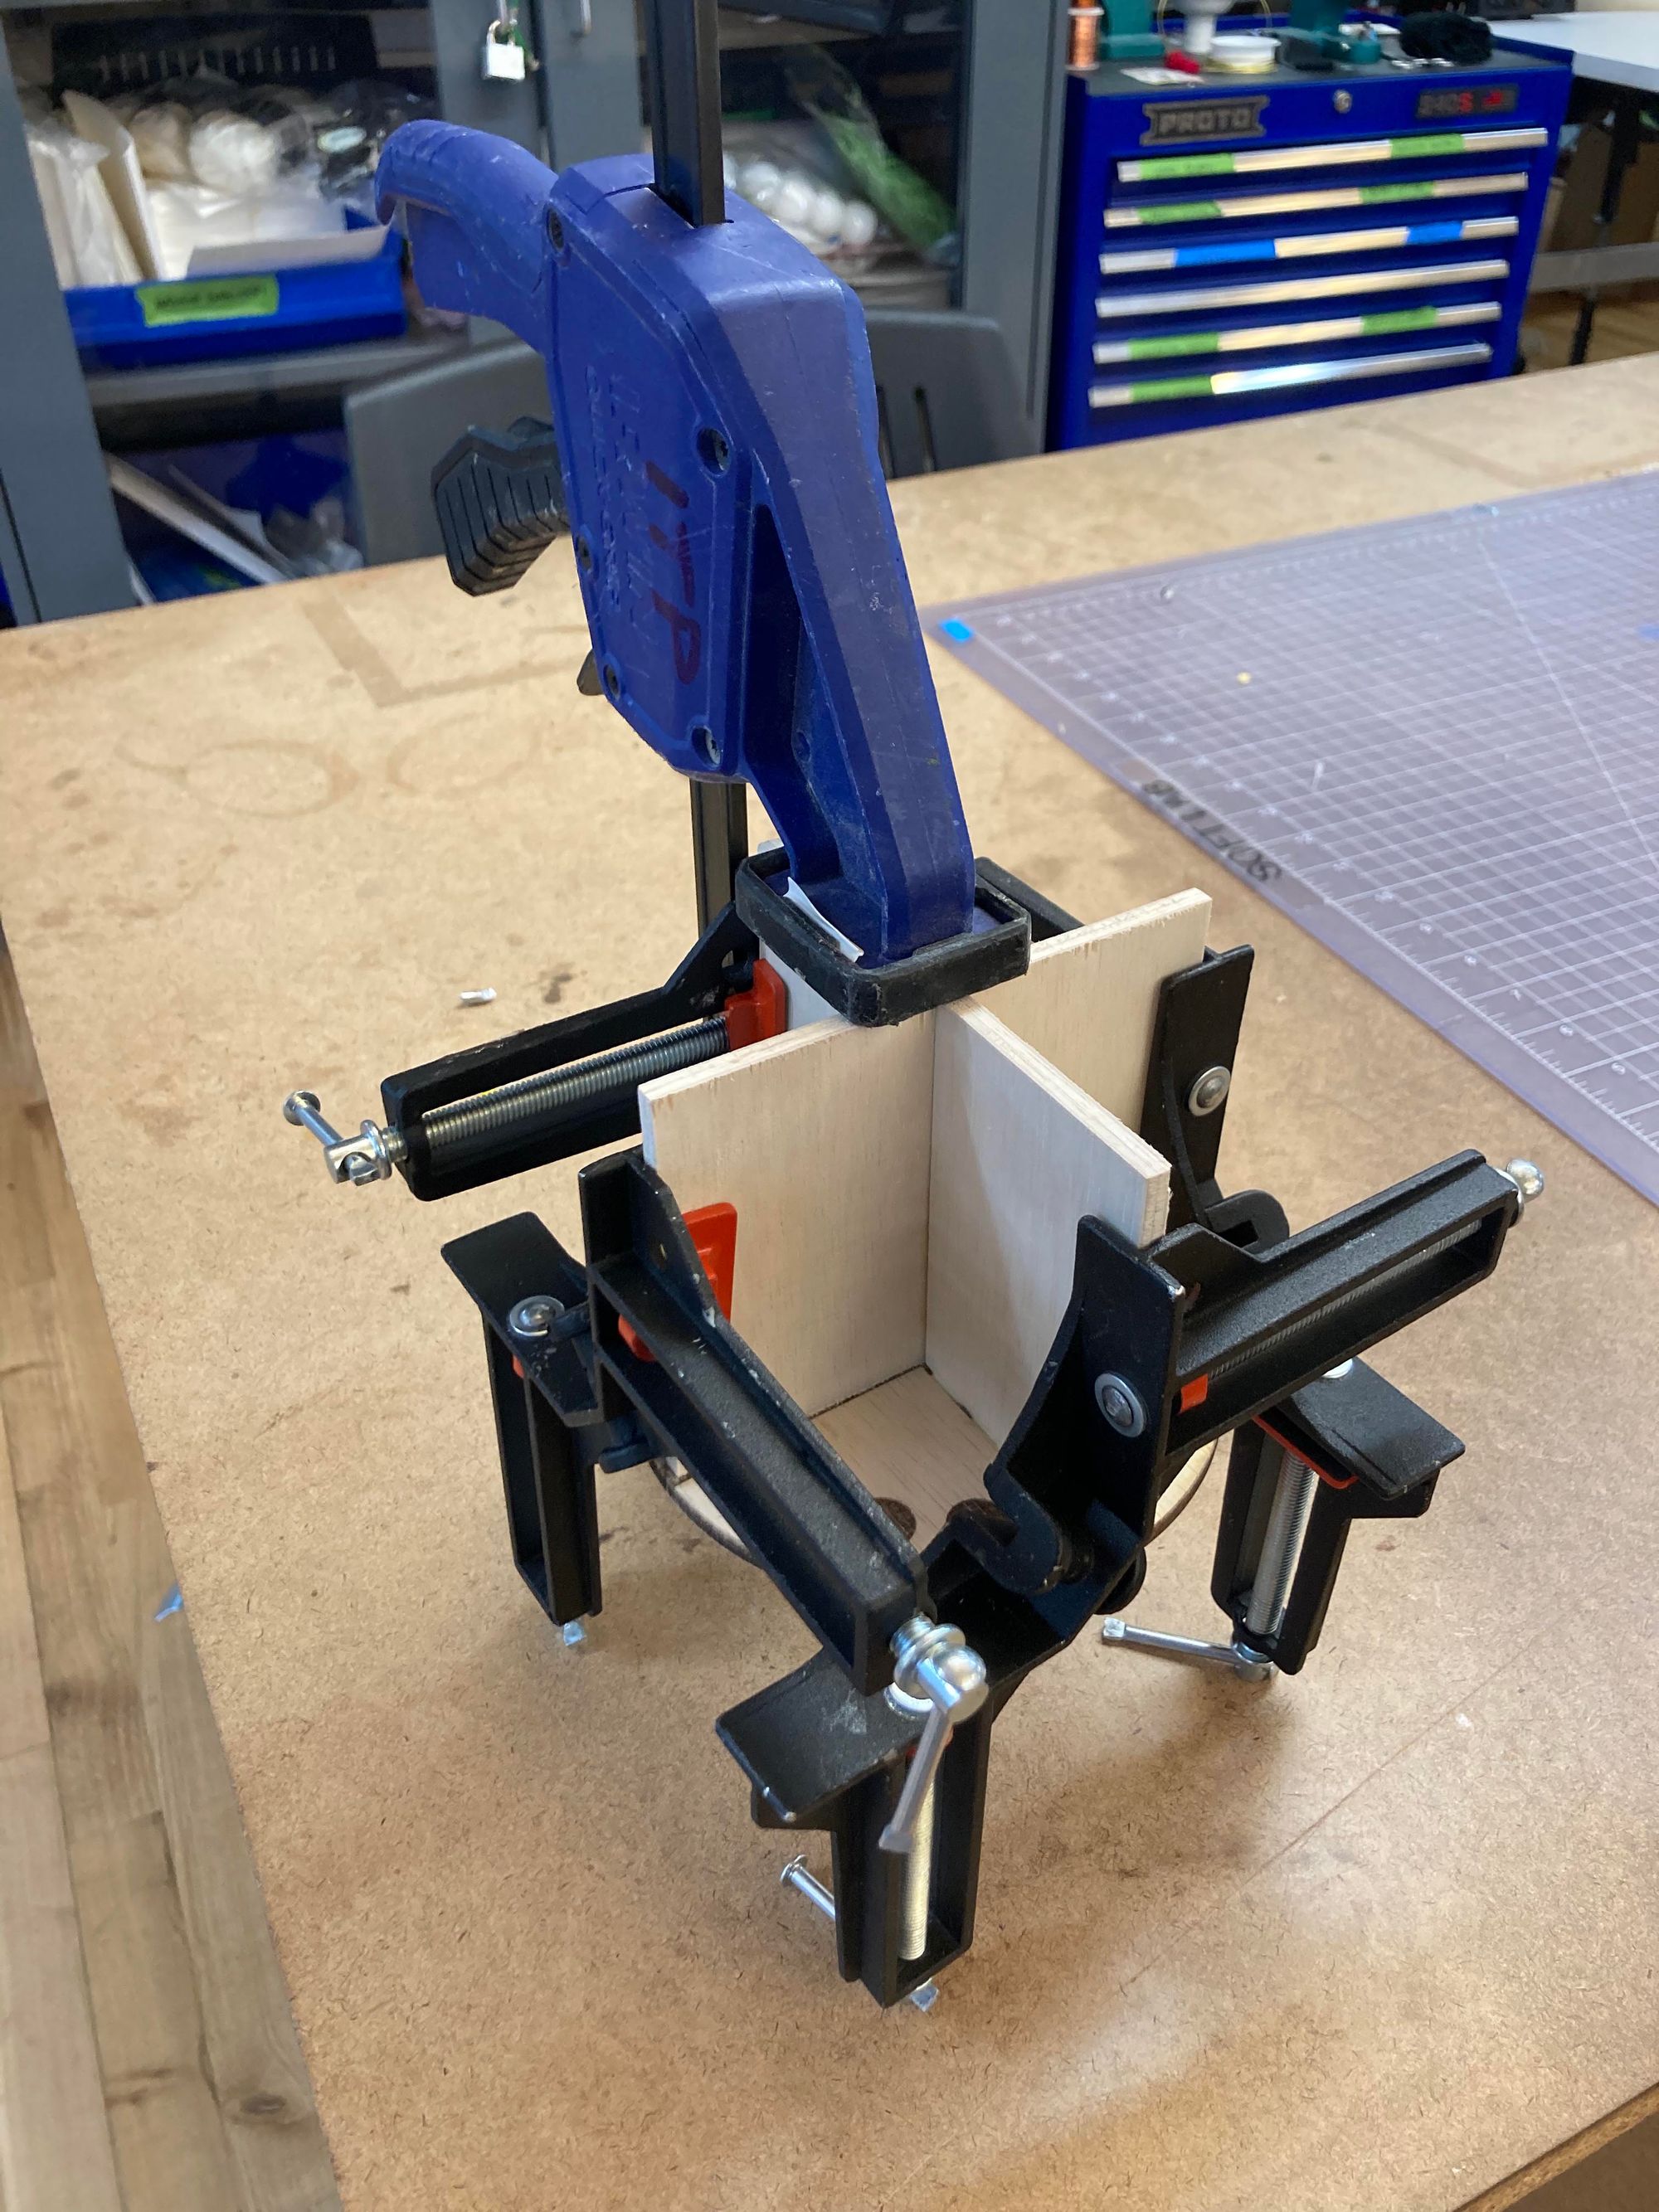
With the cross being formed of three individual pieces, then, gluing assembly called for lots of clamps. At one point I had four 90-degree clamps around the bottom of the assembly and one large clamp pressing the walls and base together. Clamp party!
The smaller holder was much, much easier to clamp.
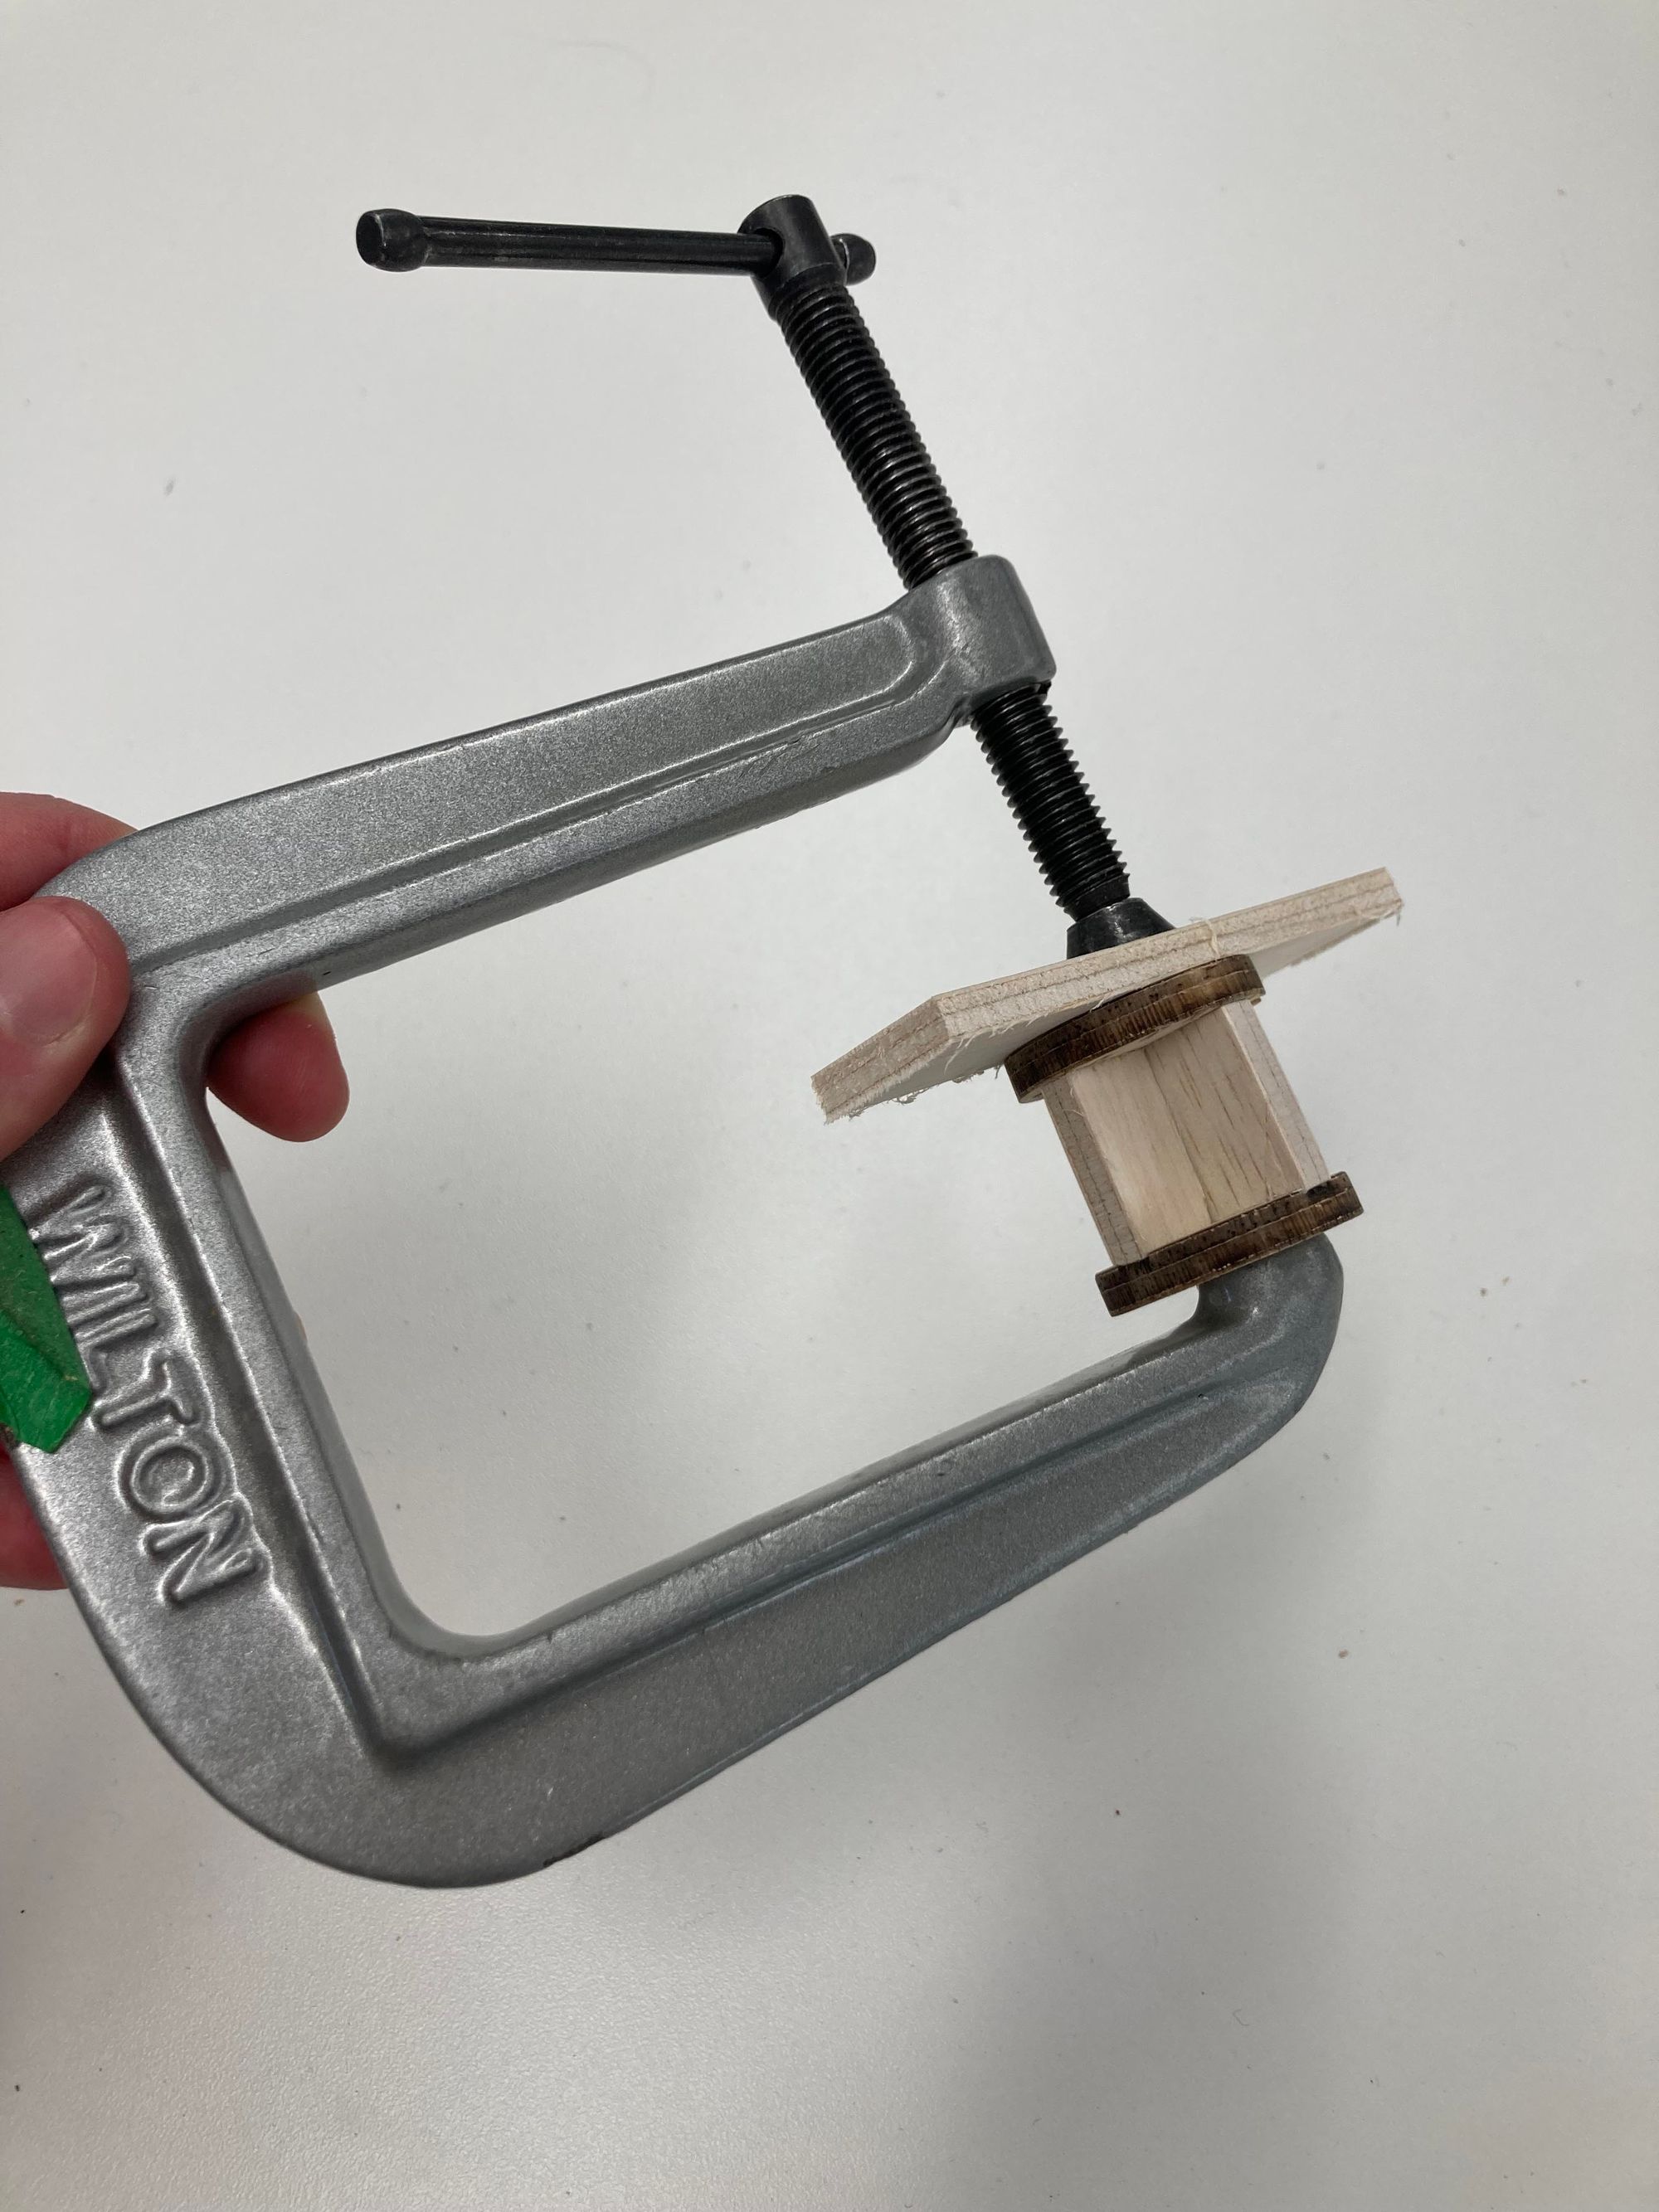
For the smaller holder, I did not laser cut the holes in the top since they're smaller than the recommended cut size for this material. Instead, I etched them and then drilled out the holes on the drill press. I ended up making a small jig to keep it clamped in the vice by repurposing the leftover material from the cutting job to form a pair of half-circle holders. I kept a piece of wood below it to prevent tear-out, but I had a little bit anyway thanks to the nature of this ply and the size of the holes relative to the grain.
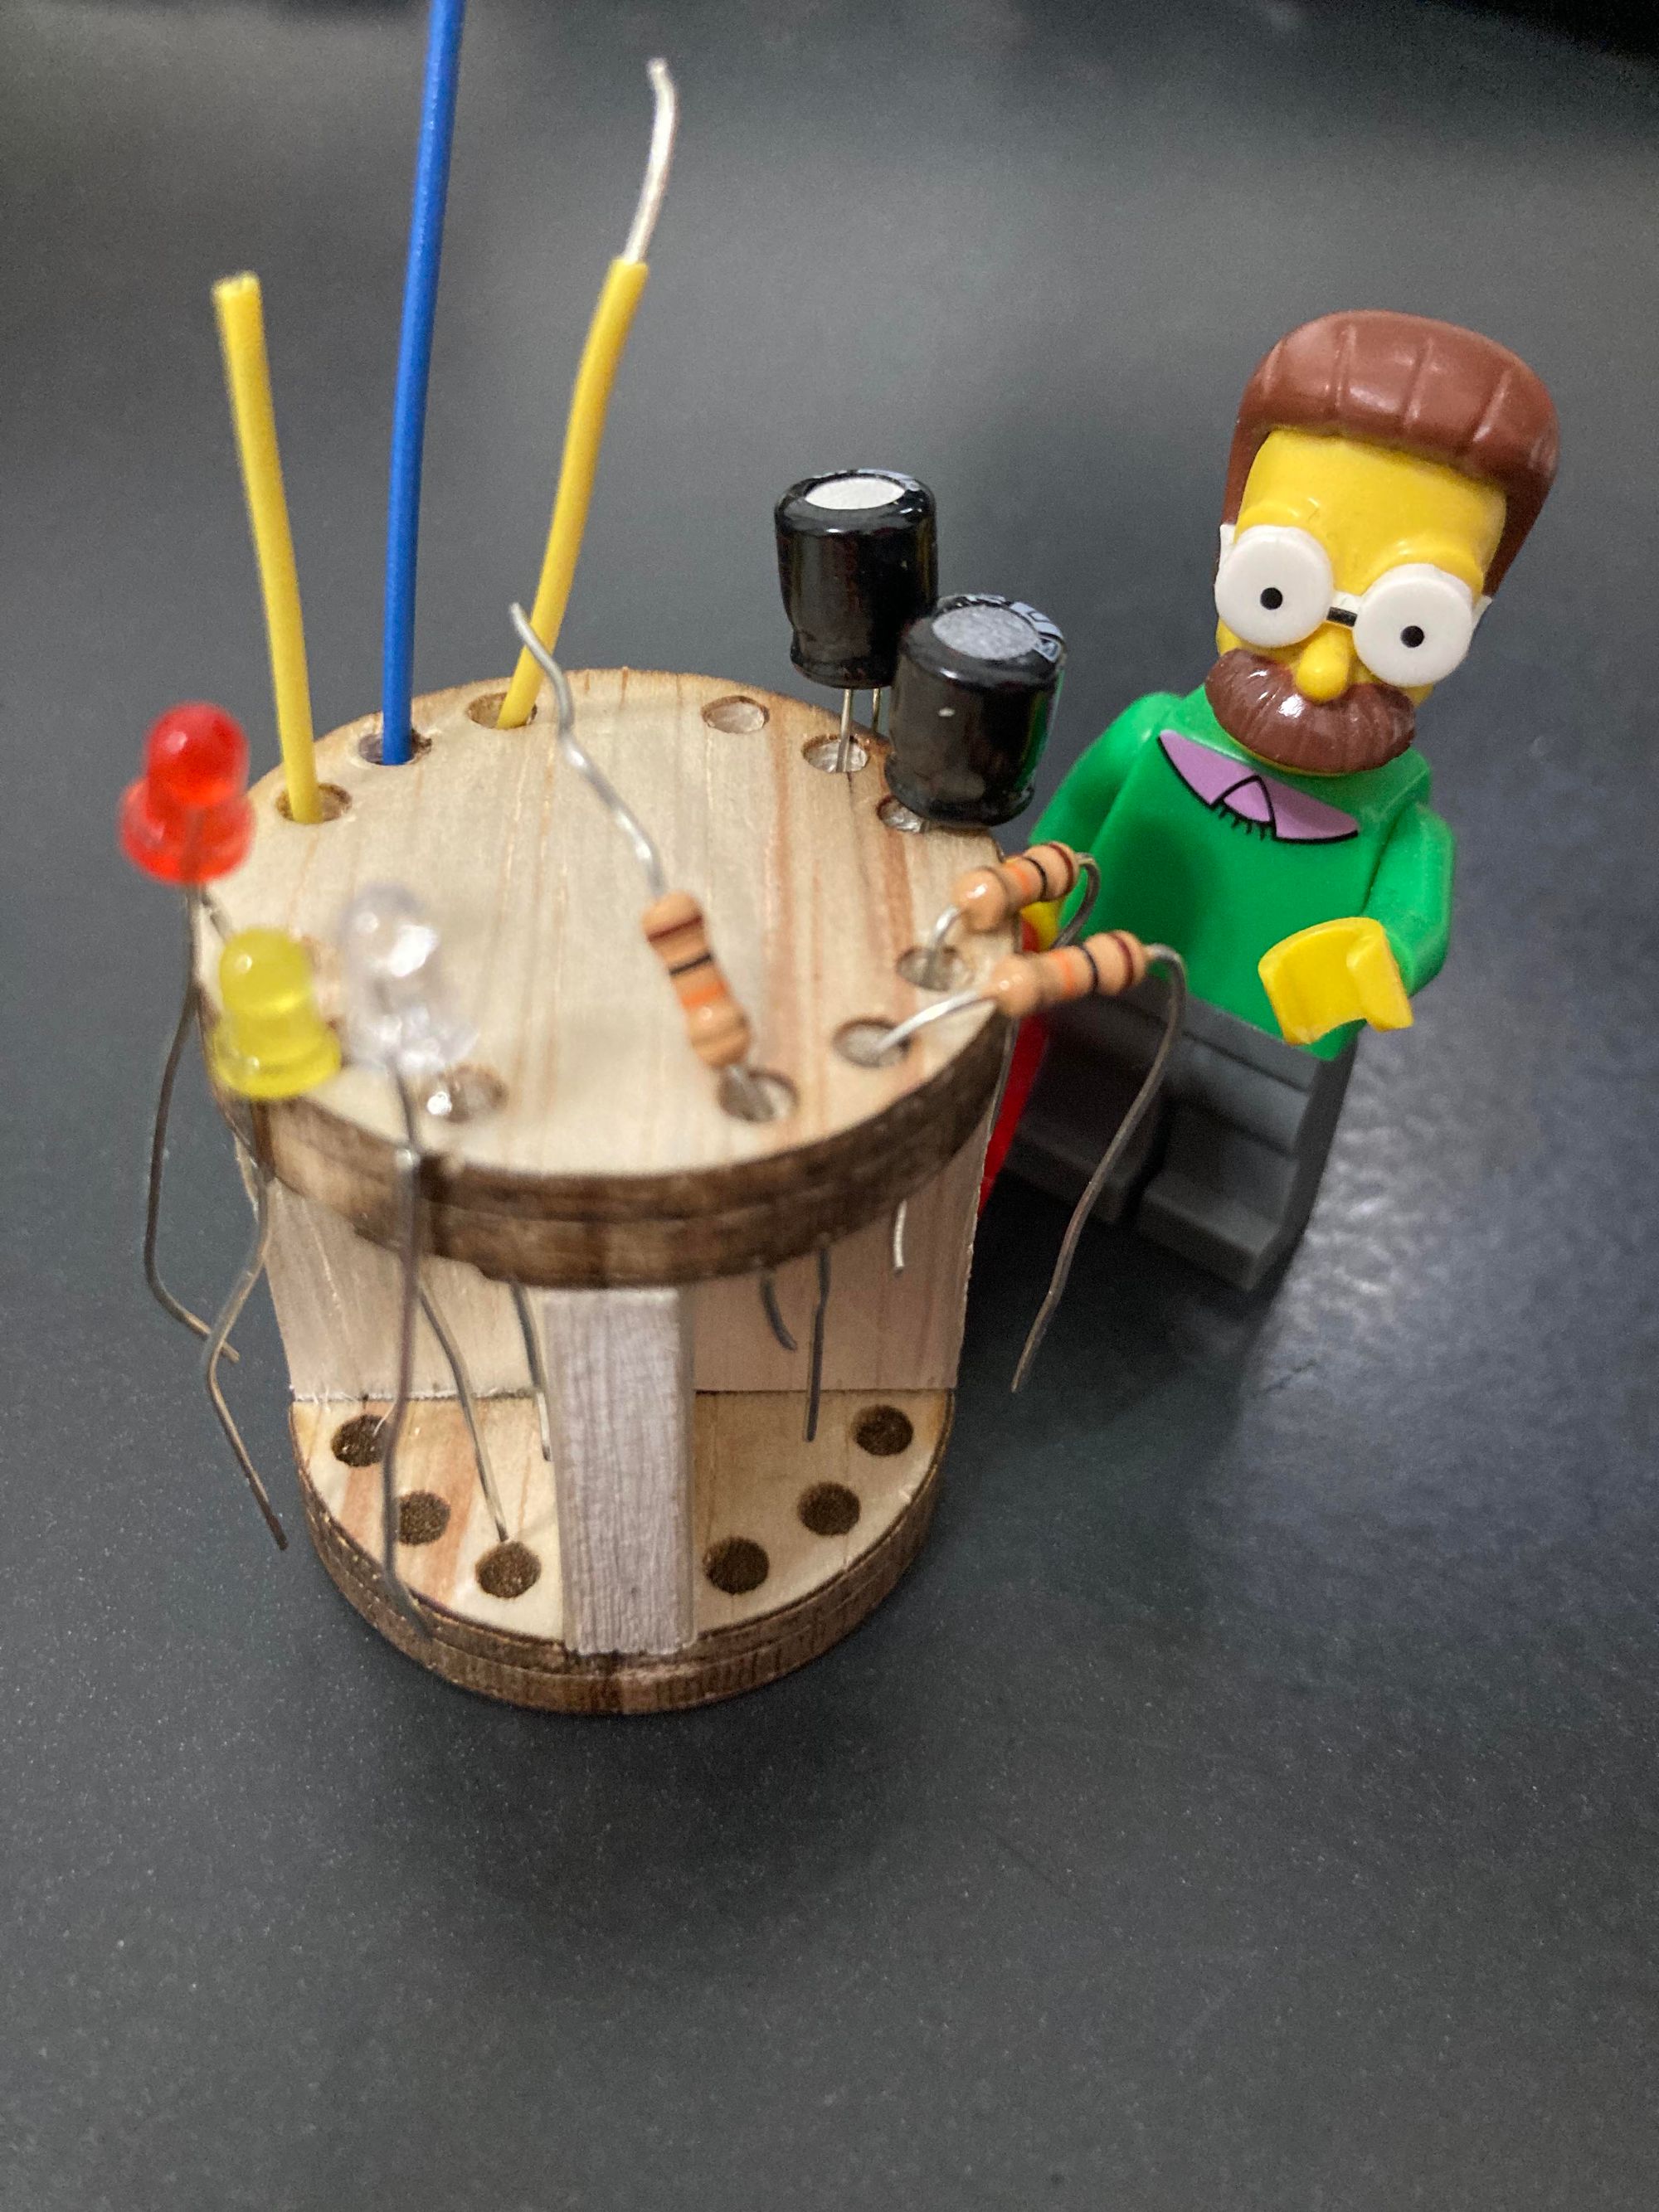
As I went about my day after making the smaller item, I found out that it’s actually pretty great as a fidget toy. Rest assured, though, that I do think it actually fulfills its purpose as an organizational device. It’s maybe a bit too cute, but I could really see myself using something this to keep through-hole components organized while working on breadboarding projects.
–2/13/23