
Intro to Fabrication - Week 4
Enclosure and more laser cutting
This week I decided to go deeper with the laser cutter, got a bit sidetracked making a storage box, and ended up making an enclosure for a Teensy that… well, you’ll see! I now know why making a certain kind of enclosure is discouraged on this ITP page.
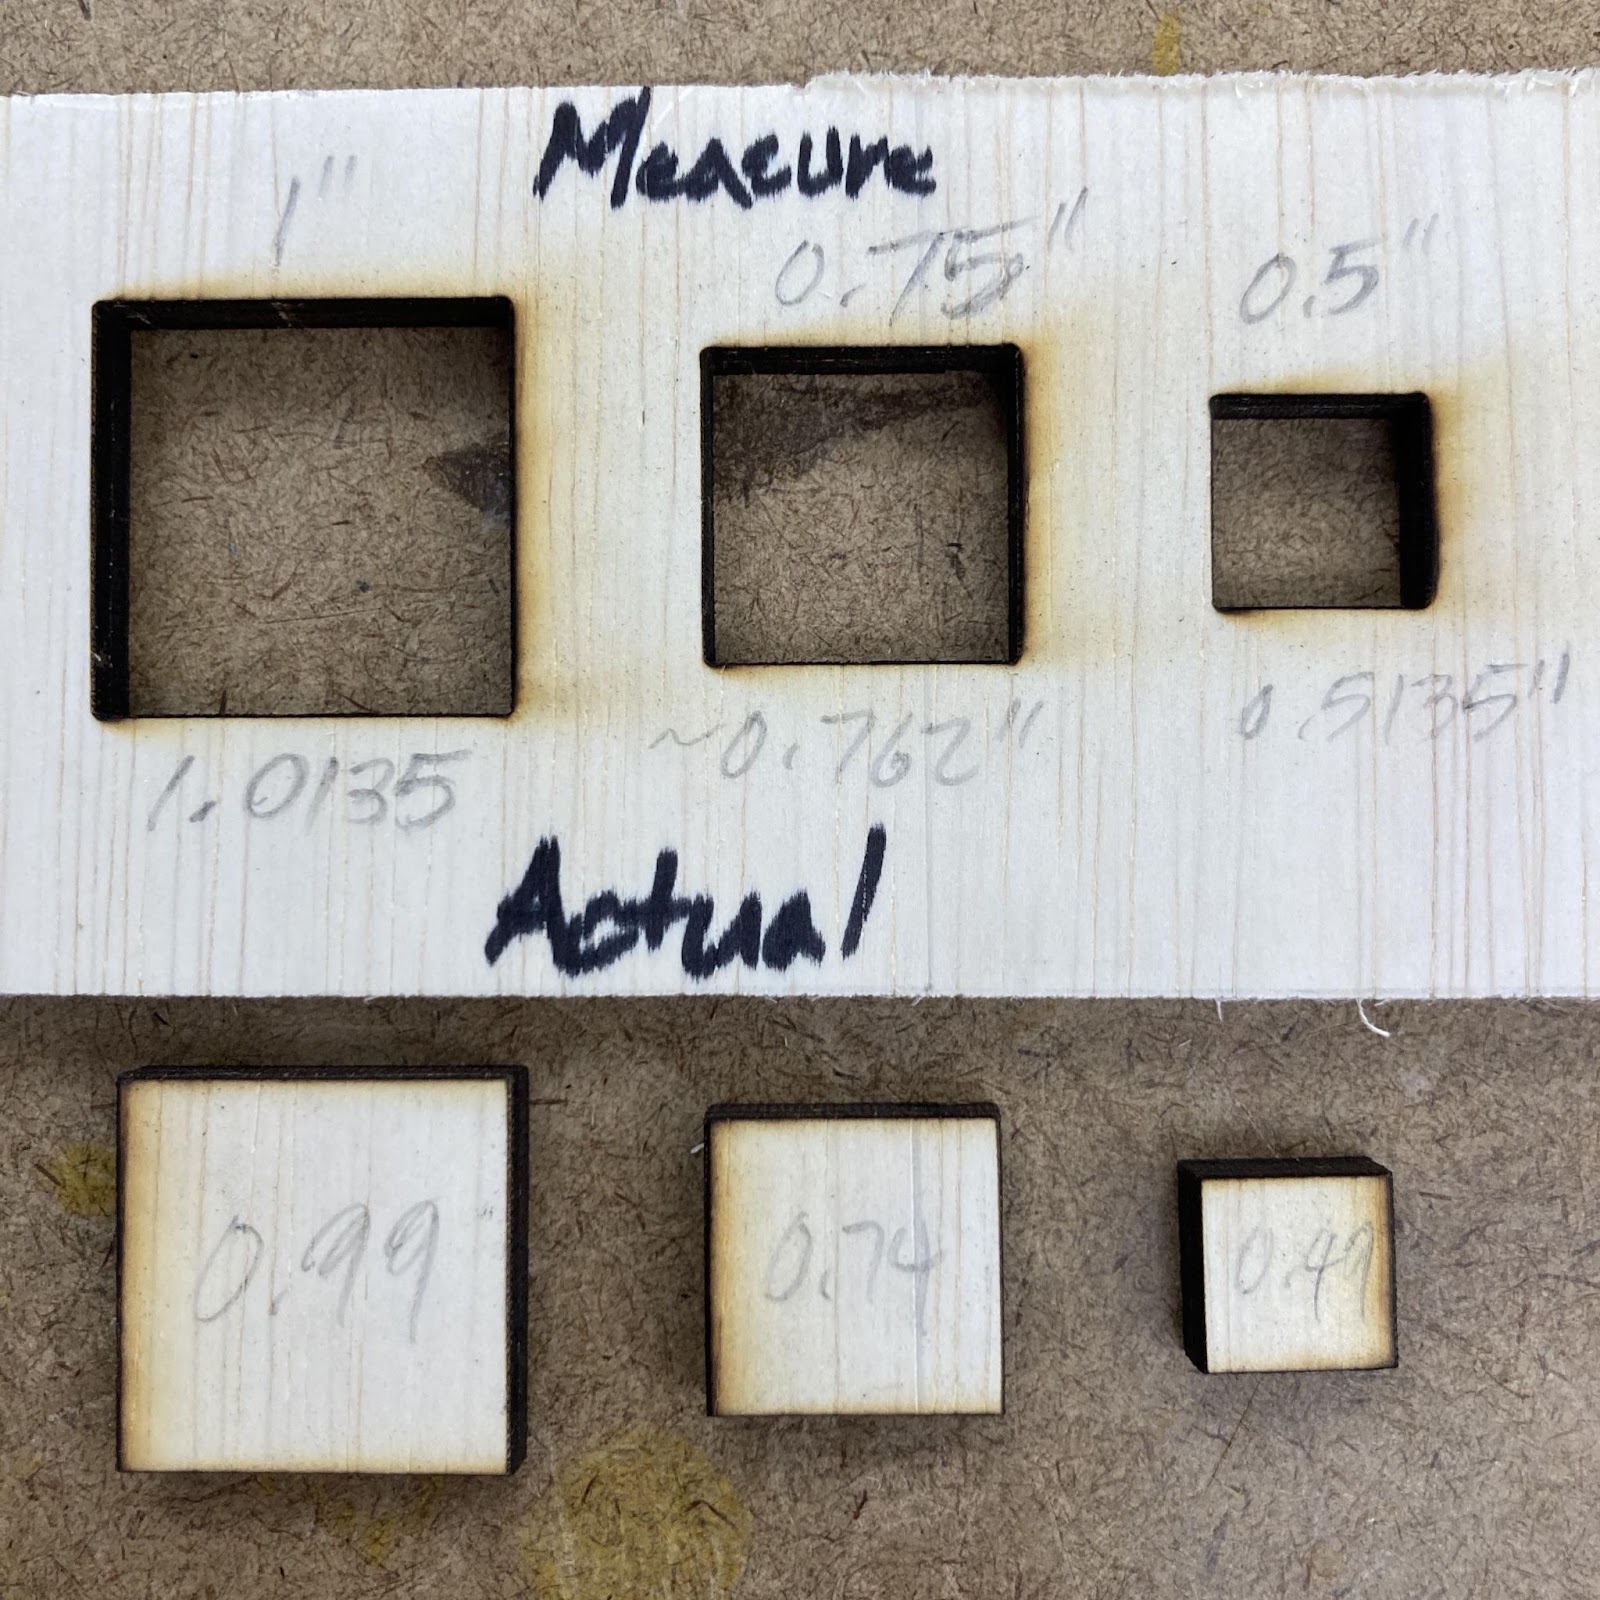
I started out with a materials test with my stock of 1/4 inch plywood. Measuring with calipers, it looked like the laser was removing a bit over .02 inches of material along a cut line. With that in mind, calculating the required offset was easy, right?
Not quite. Long story short, though I did get a pair of test meshing tabs to come together pretty nicely, I have not yet dialed in the right offset I need for this ply. Subsequent cuts/assembly required a lot of sanding and use of a file to get things to fit together. Wasn’t very fun.
I started out with plans to make a carrying case for my Pinecil soldering iron. My idea was just to make it functional for storage, not for active soldering (not the material I’d pick to use with a tool heated to 600 degrees, just saying).
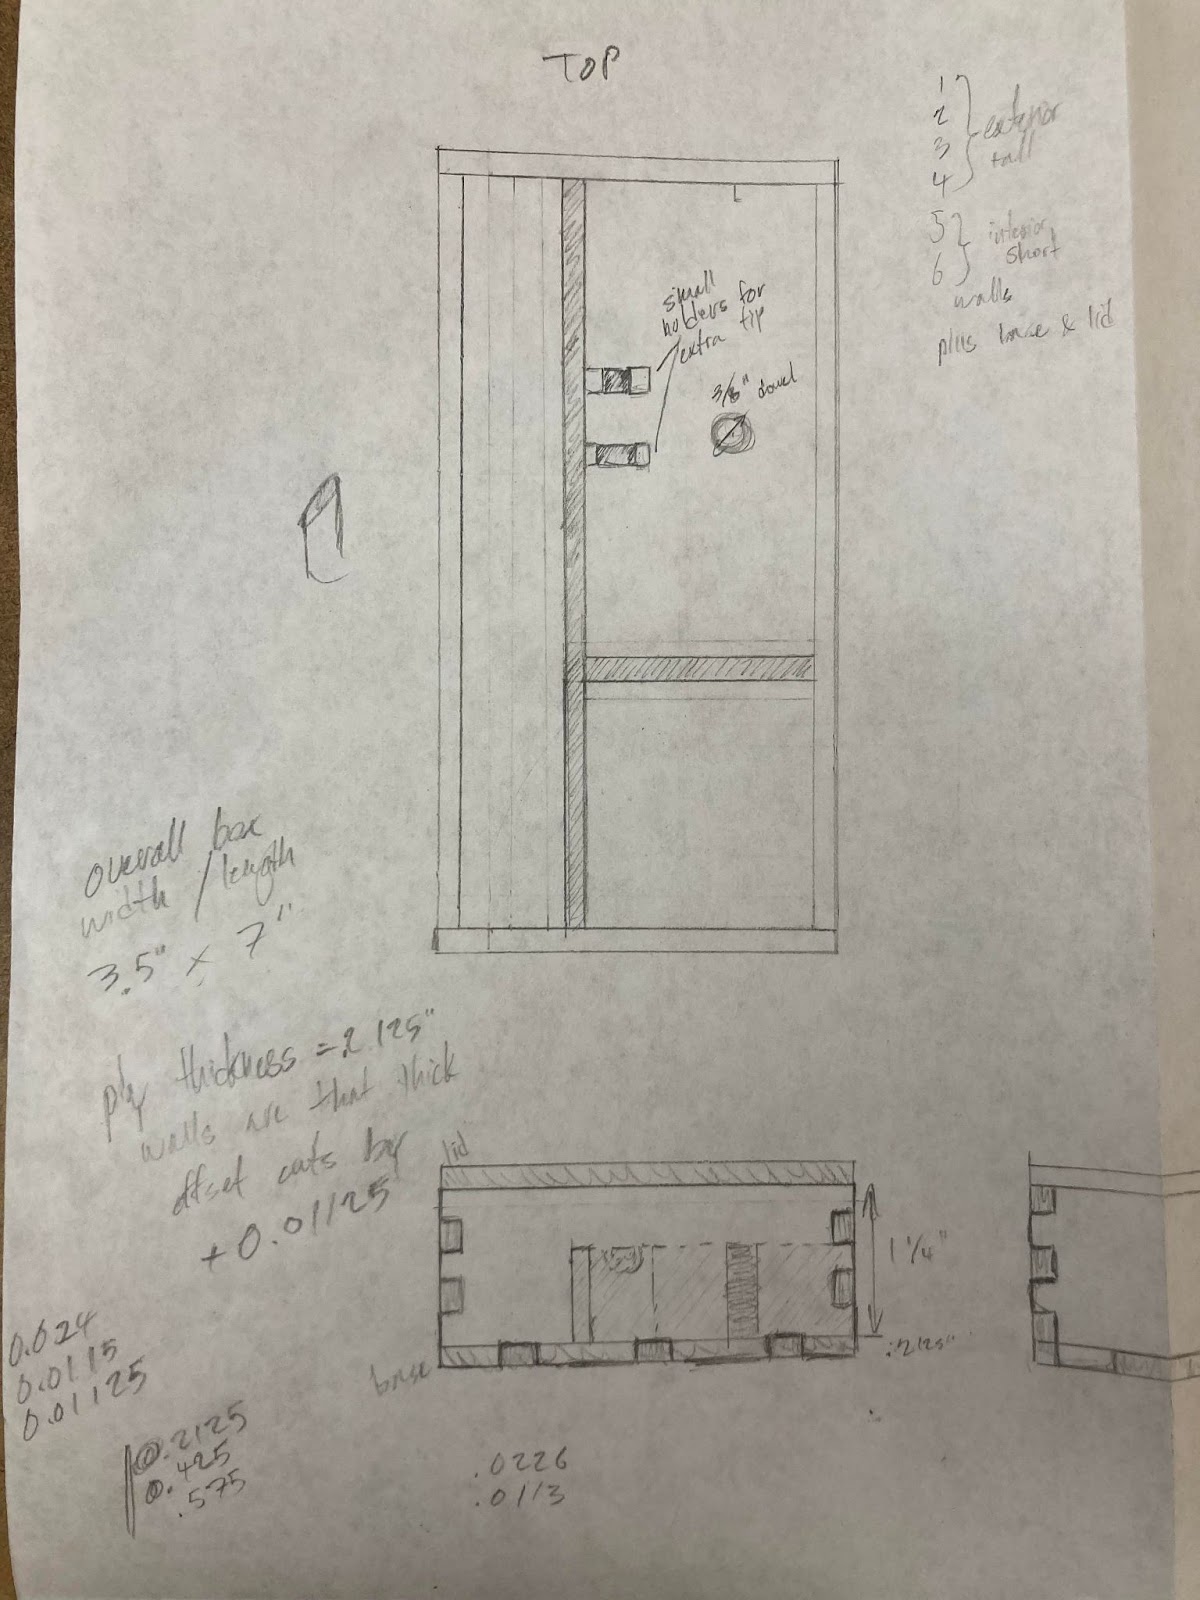
Drawing up the plans and transitioning them over to Illustrator was definitely worth the time spent on it–in trying to figure out how to get everything to fit together, I hit upon some workflow quirks and tricks that I’ll definitely use in the future.
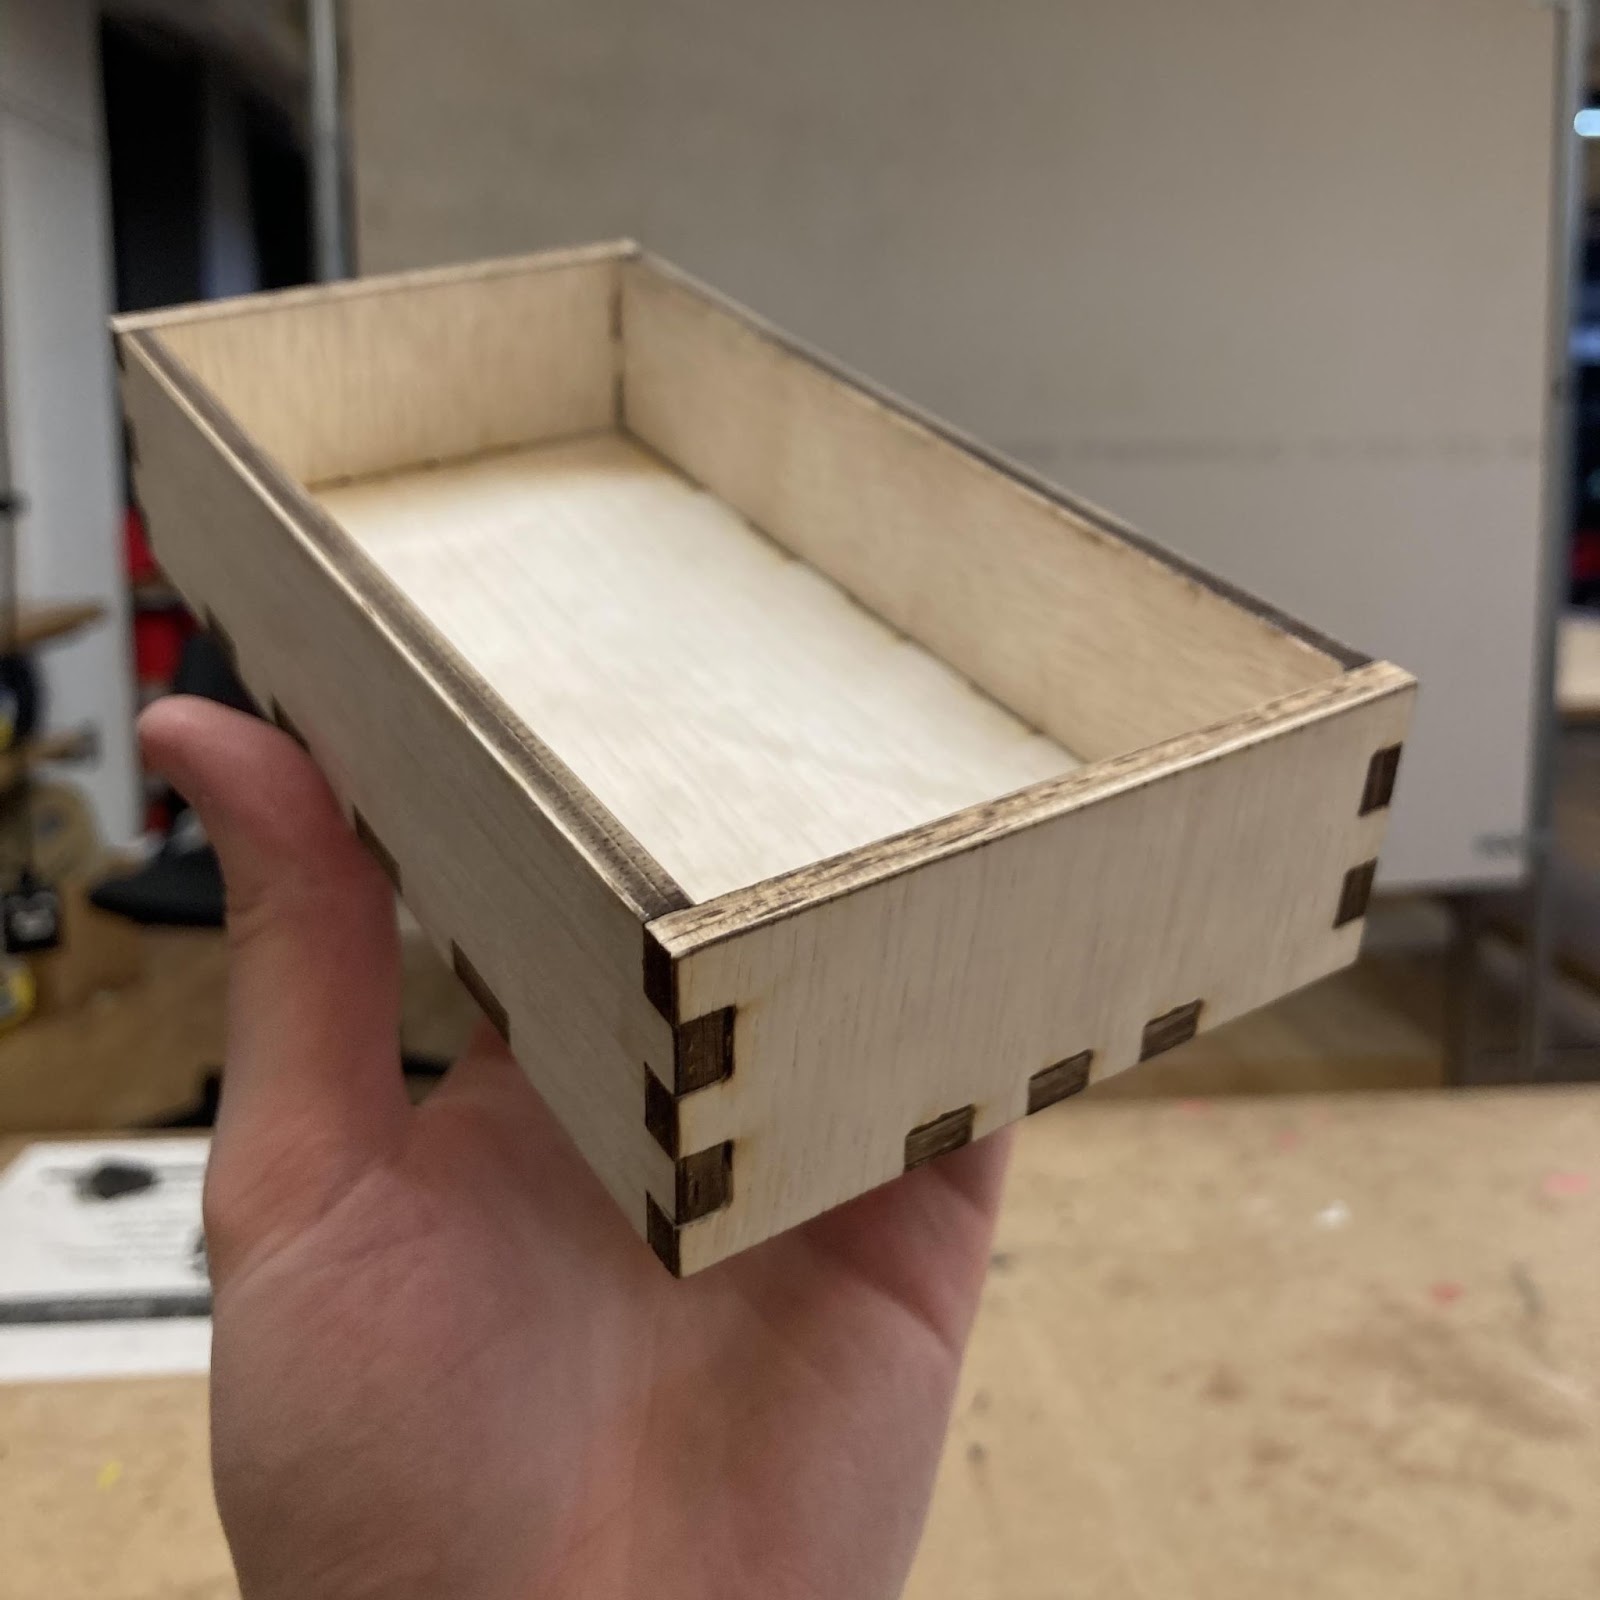
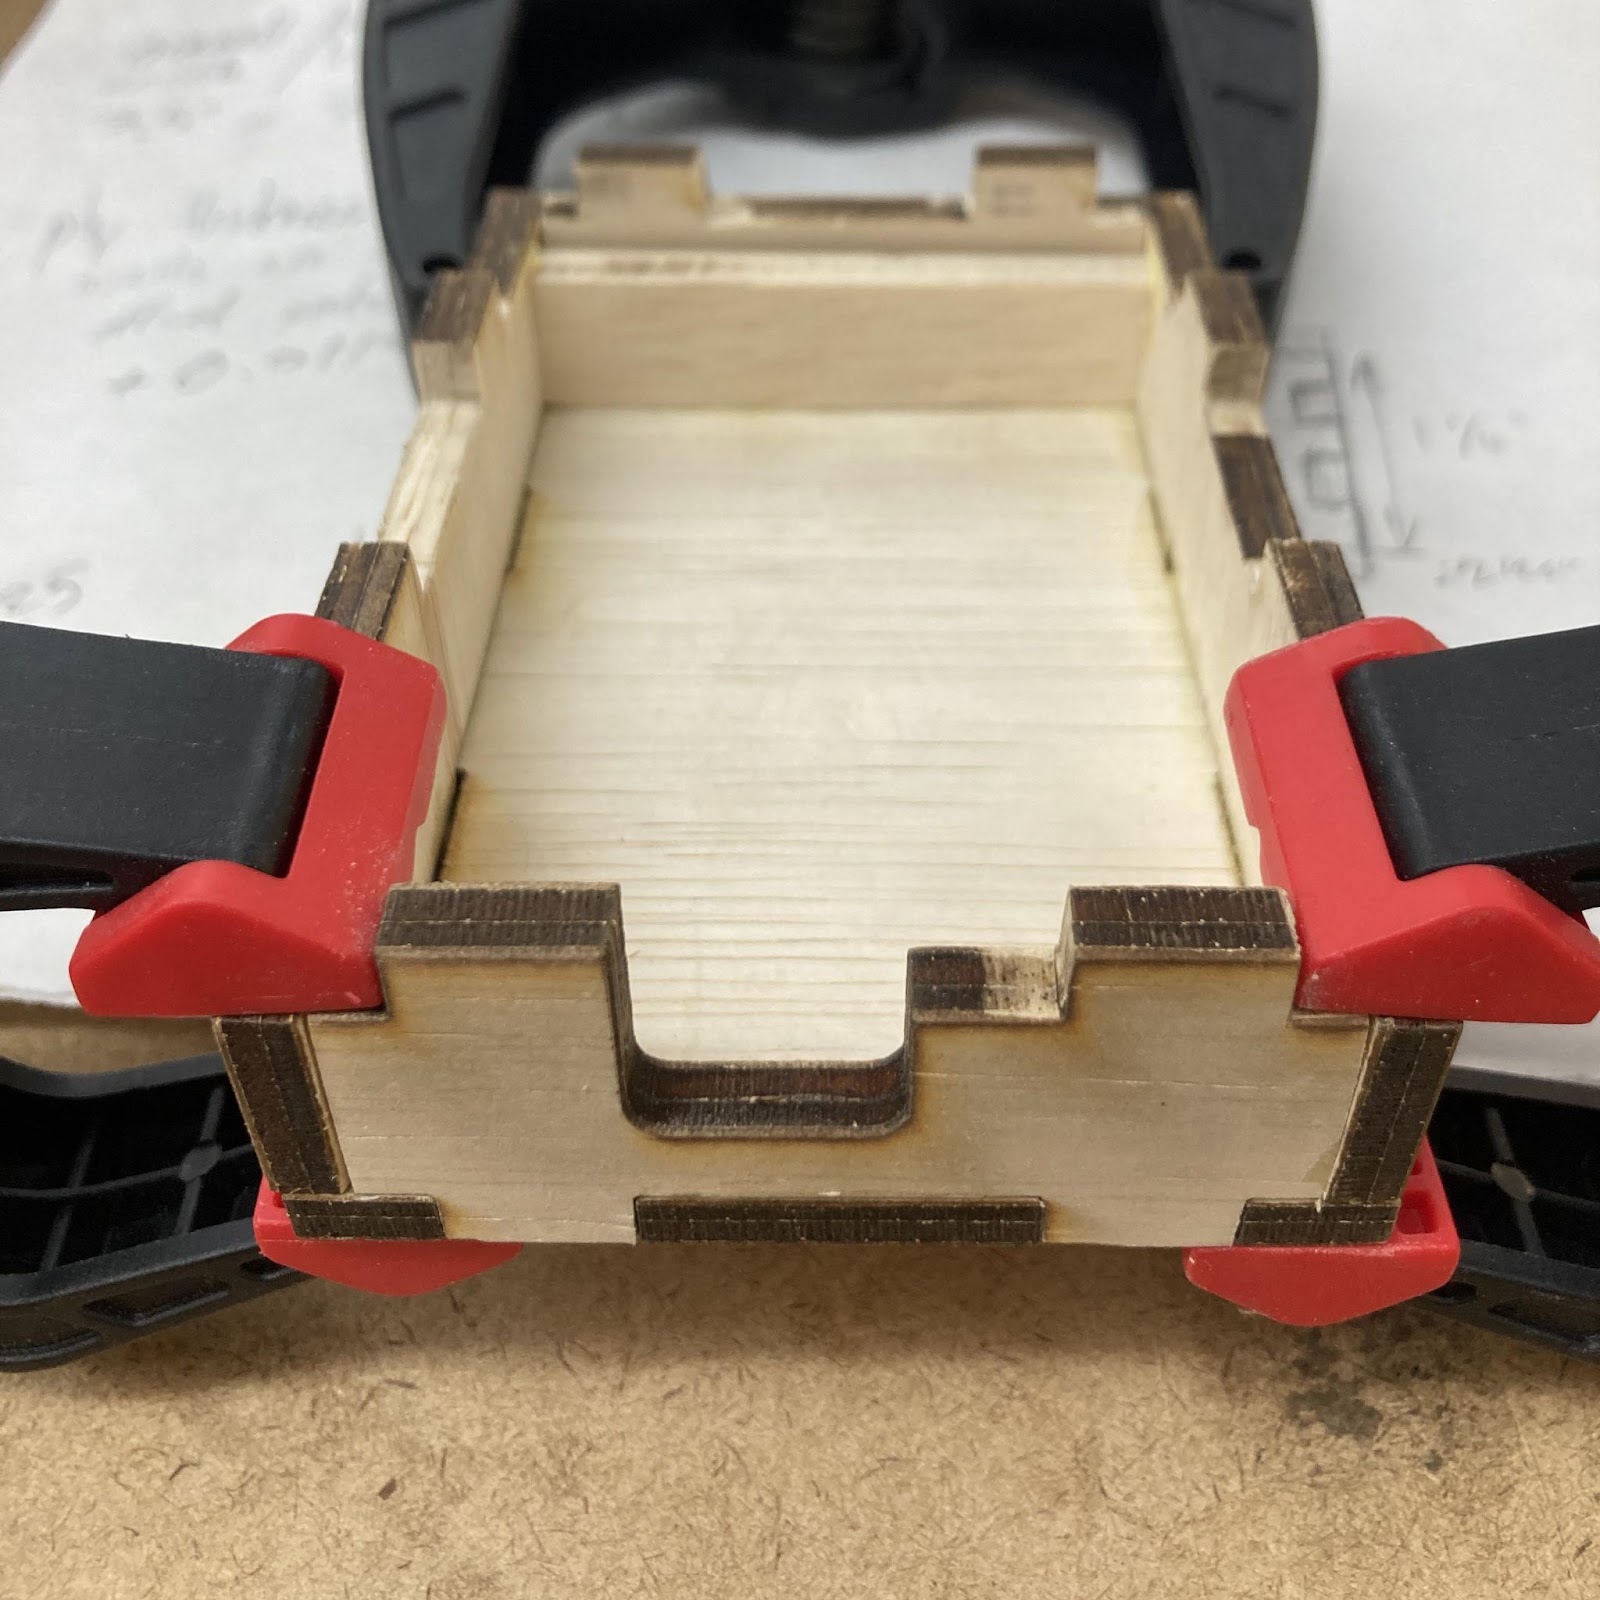
But a carrying case is just a box, not an enclosure! I got as far as making a partial test box (a tray, I guess) before deciding to make something more in the spirit of this assignment.
So I began taking measurements for enclosing a Teensy 4.0 on a small breadboard with a few pushbuttons, basically making a tiny prototype game controller. Lesson learned: I could have spent twice as much time on taking measurements at this stage and would have arrived at a much better final product. Enclosures are tricky!

Not wanting to waste material, I went through the tedium of sanding down the tabs for the Teensy enclosure but was a bit more careful with it than I was with the earlier test tray. I wouldn’t say I really have a method down, but I think at this sort of stage with something requiring both repetition and precision, keeping count of how many sanding passes you’ve done is helpful.
I decided to err on the side of leaving more space than I needed on the enclosure’s interior. With the breadboard then wanting to slide around (and my not wanting to adhere it to the inside permanently) I took some scrap ply I had from an earlier project and made an insert to keep the board snug when in place.
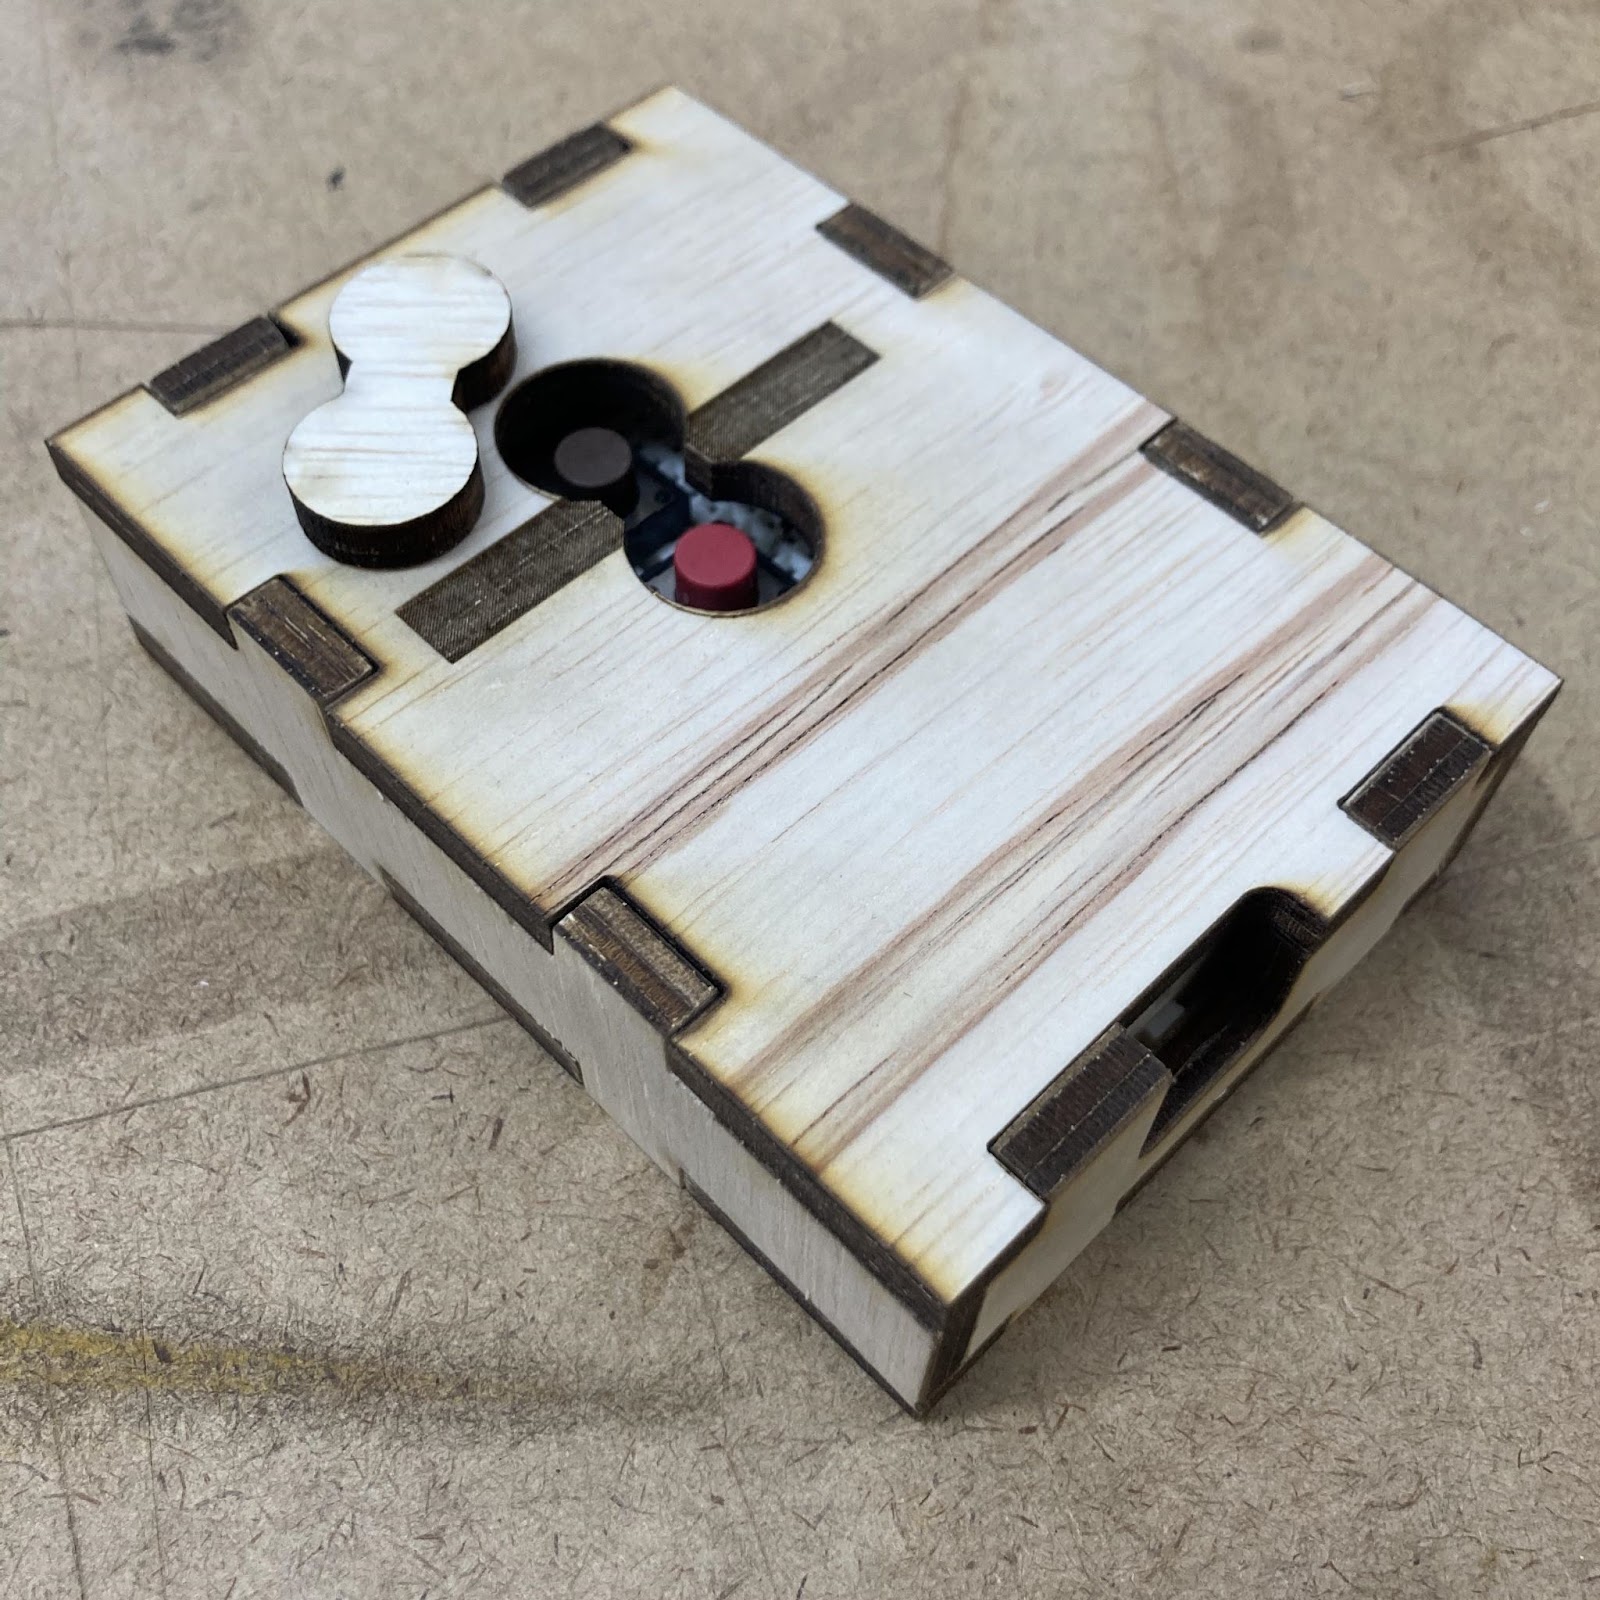
The pushbuttons this enclosure was designed for are shallow relative to the height of the lid, but the good news is that the excess ply from the hole serves pretty well as a button cover! Anyway, there are about a dozen things I’d do differently if I had to make this enclosure again, starting with how it’s closed up. In my haste I didn’t really think about having an easier method to open and close it, so only the base and walls of the enclosure are glued together, leaving it possible to pry the lid off for access–which is just begging to damage the tab/slots with time.
–2/20/23