Physical Computing 9/14/22
Blink or you’ll miss it
The good news: this week’s labs felt enough like a natural extension of last week’s that I didn’t have too much difficulty getting to a point where I feel like I understand the material covered (and wow, microcontrollers and sensors are funl). The bad: I still encountered a few confusing problems in replicating some of what was going on in the labs, and I don’t know why.
First up, the lab on digital inputs. I grabbed the materials, laid out my breadboard, loaded the code onto the Arduino Nano, and… didn't get the desired result. Instead of having a pushbutton that blinks the two LEDs, I just had one LED that was stuck in the on position.
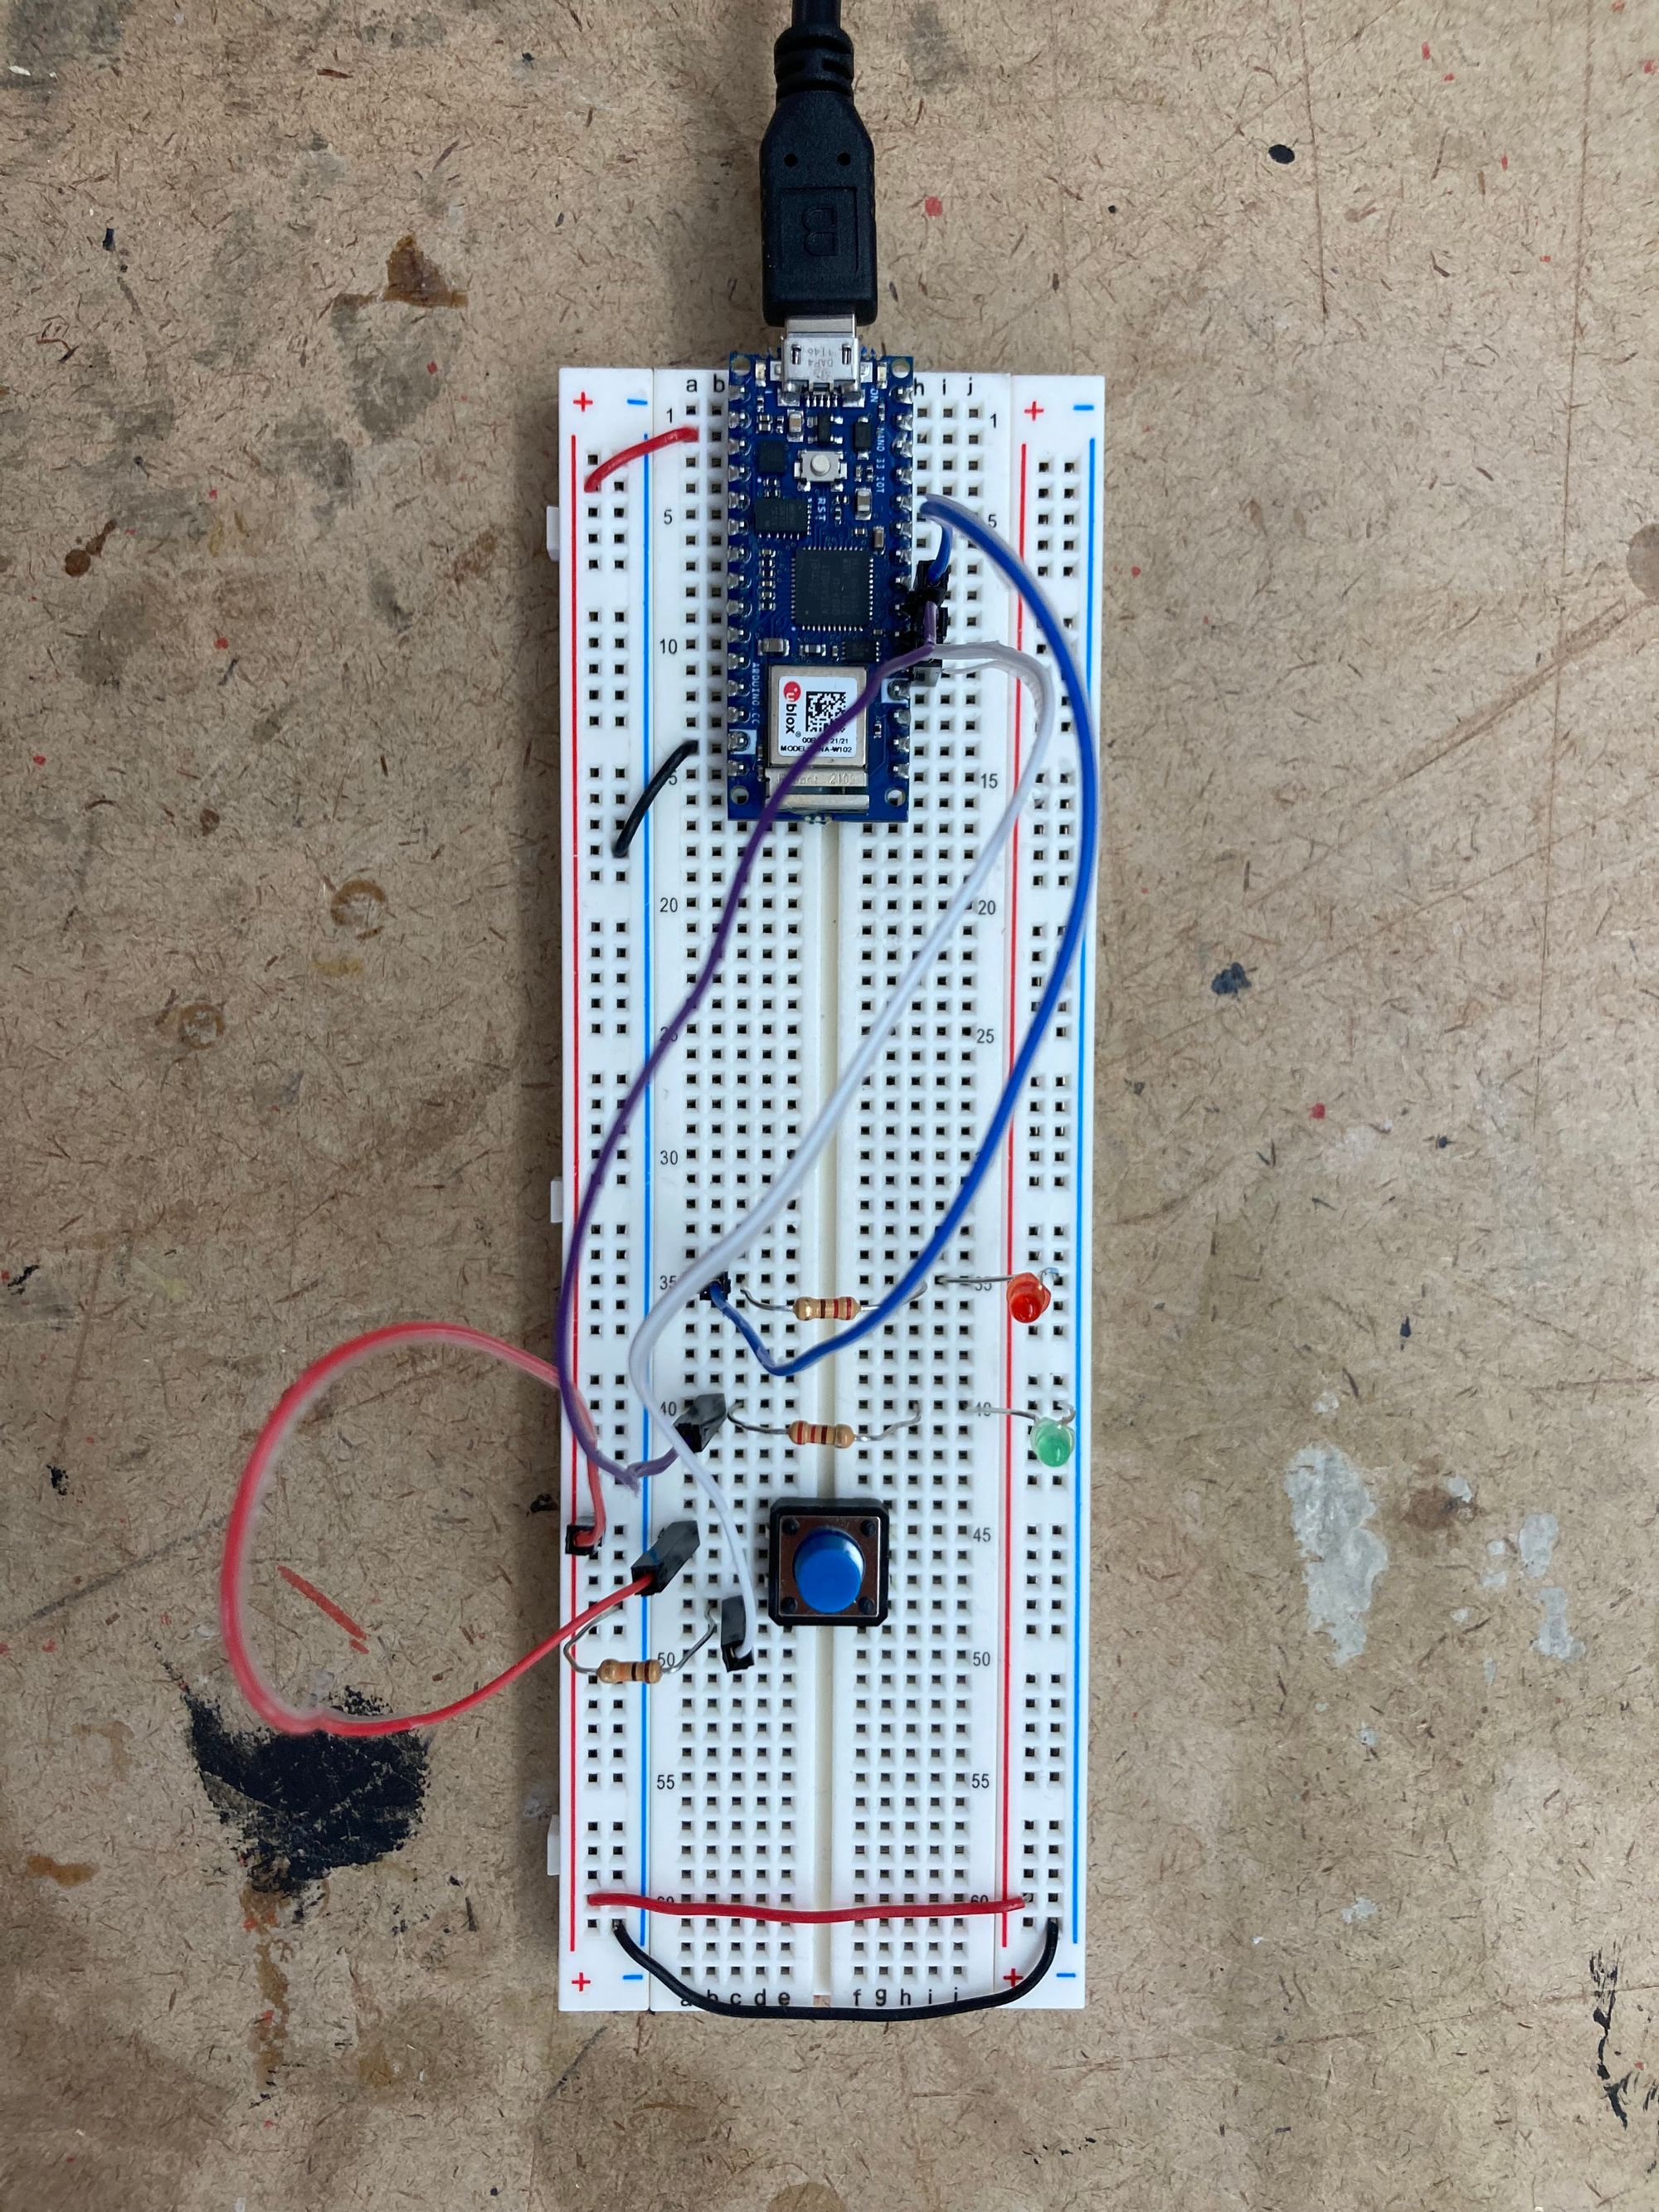
At that point I was working alongside Jo at the shop, and after about 15 minutes of fretting over what might have gone wrong, I decided to move on and try it again later. I double checked my resistors, the code, the connections to the digital I/O ports, and nothing made a difference. Look at that photo though: I think I just didn’t have the jumper wire leading from the button to the Arduino in the right place?
In any case, I repeated this exercise later on and had it work just fine.
The lab on analog inputs went smoothly enough. I got the potentiometer and force sensing resistors communicating happily with the Arduino, and if we have time in the next class to set up our boards again I’d like to play around with the phototransistors and get those working.
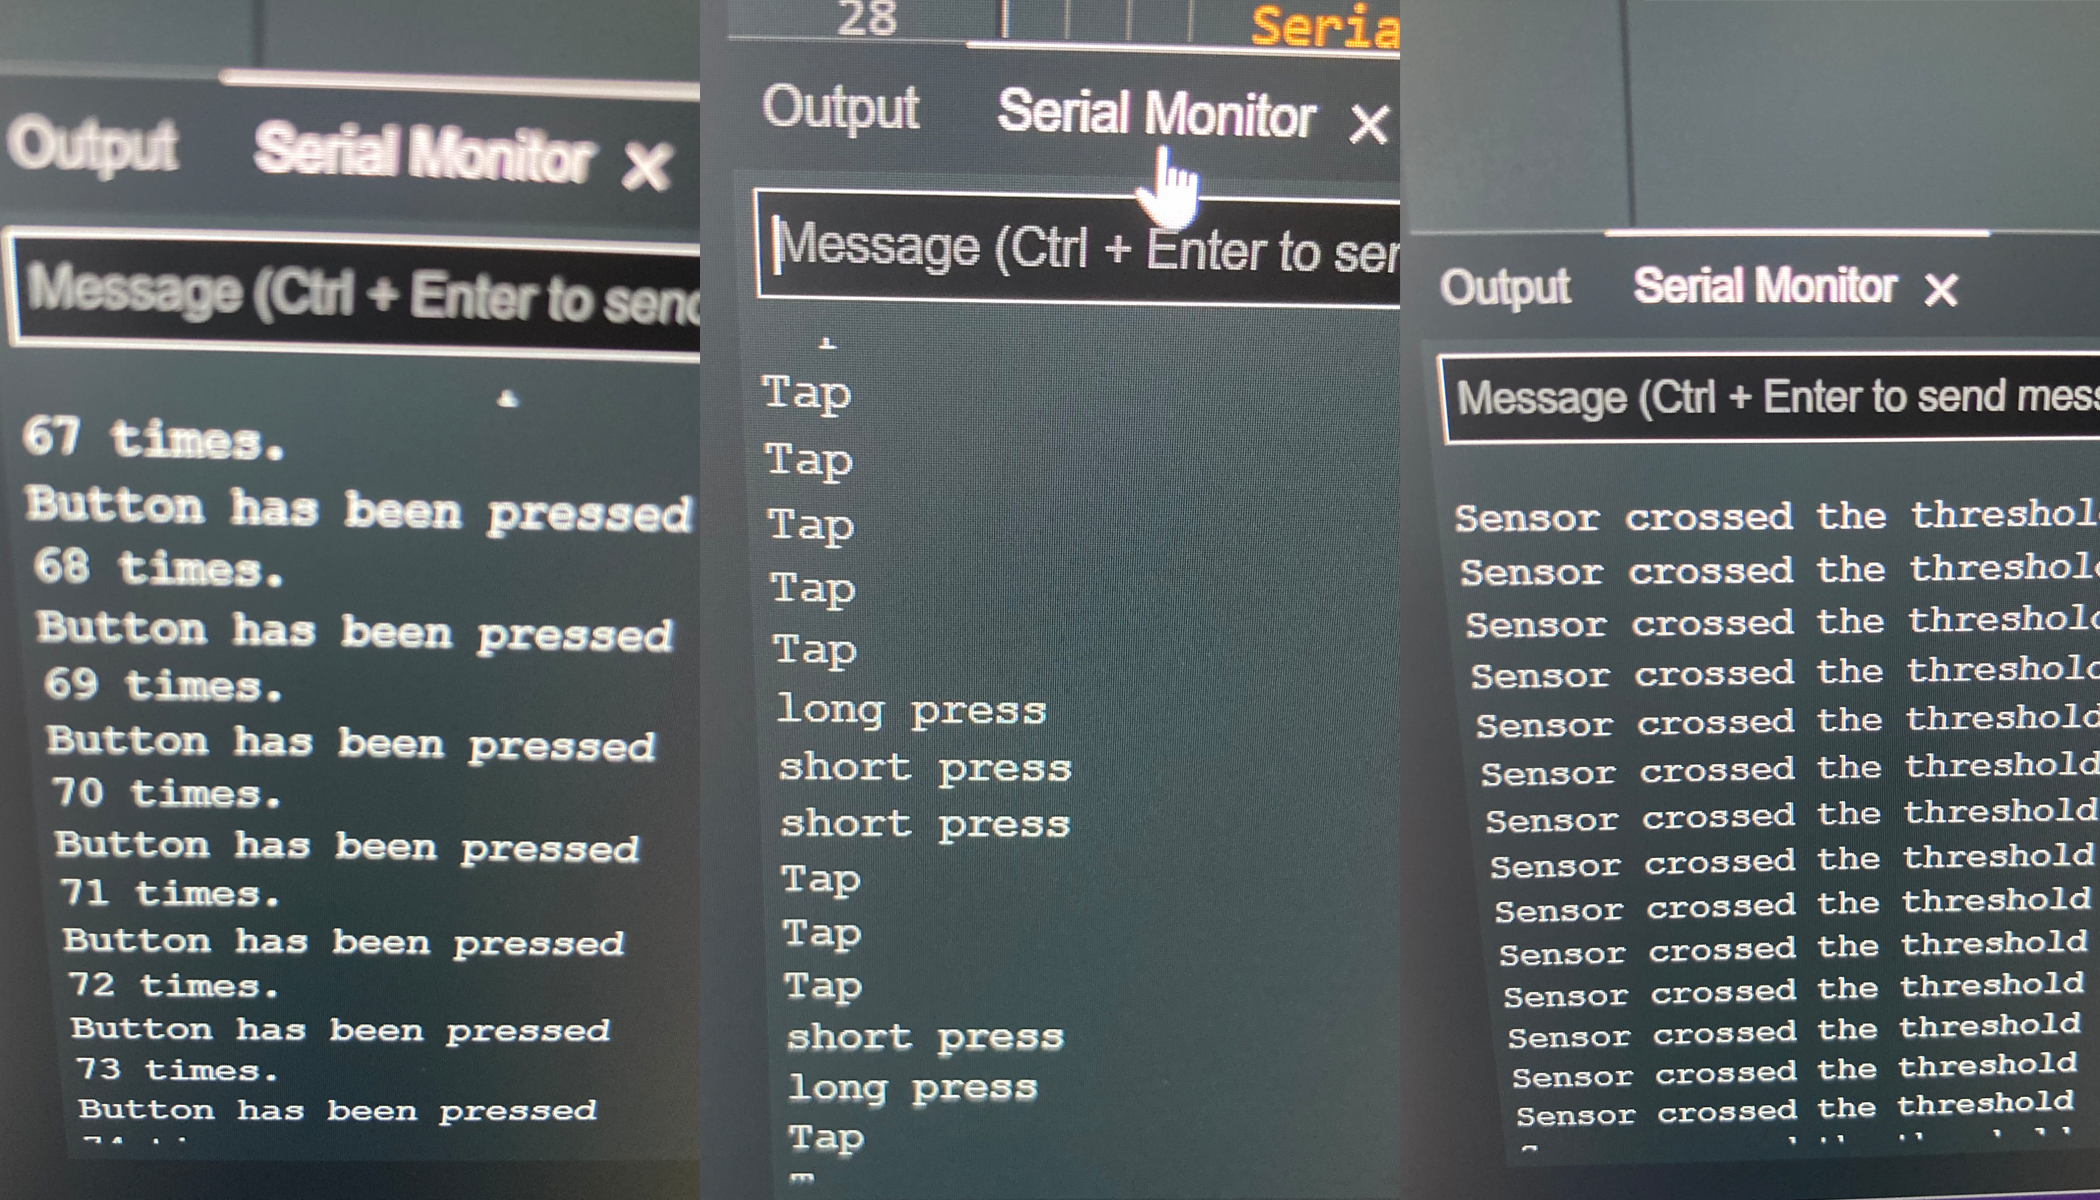
Then moving on to detecting changes with sensors, I again had trouble getting the lab to work properly while on the floor. This time I tried getting a little more adventurous with my debugging (e.g. let’s change the digital pin I’m reading from 2 to 3 in the code and on the board and see if that makes a difference) to no avail.
At that point, with the sun beginning to set and plenty to do at home, I knew I needed to leave the building and try again later. And just like with the first exercise, everything worked just fine on my second attempt. Next step when I get the chance is to try out a more creative use of these principles, but for now I’m just happy to have made it through these labs.–9/21/22